← Back to Contents
7 Automotive Electrical Appliances / 7.13 Wiper Device | PDF pages 1736-1745
7.13 Wiper Device
7.13 Wiper Device
7.13.1 Description and Operation
7.13.1.1 Description and Operation
The windshield washer system employs CEM to collect and
determine the gear position of the combination switch handle,
and then turns on the windshield washer motor to transport
the washer fluid to the front/rear nozzles through the washer
fluid pipe, and the washer fluid is sprayed from the nozzle
position, combined with the rotation of the wiper, to achieve
the cleaning of the windshield.
7.13.2 Specifications
7.13.2.1 Fastener Specifications
Range Of Torque
Fastener Specifications
Specifications
Foot Pounds of Torque (ft lbs)
The fixing bolt connecting the wiper
motor assembly and the wiper motor
(18.5 +/- 2) ft lbs
M8
mounting bracket
The fixing nut connecting the main wiper
arm blade assembly (nozzle and hose)
(14.75 - 17) ft lbs
M8
to the wiper motor assembly
7.13.3 Decomposition Diagram
7.13.3.1 Decomposition Diagram
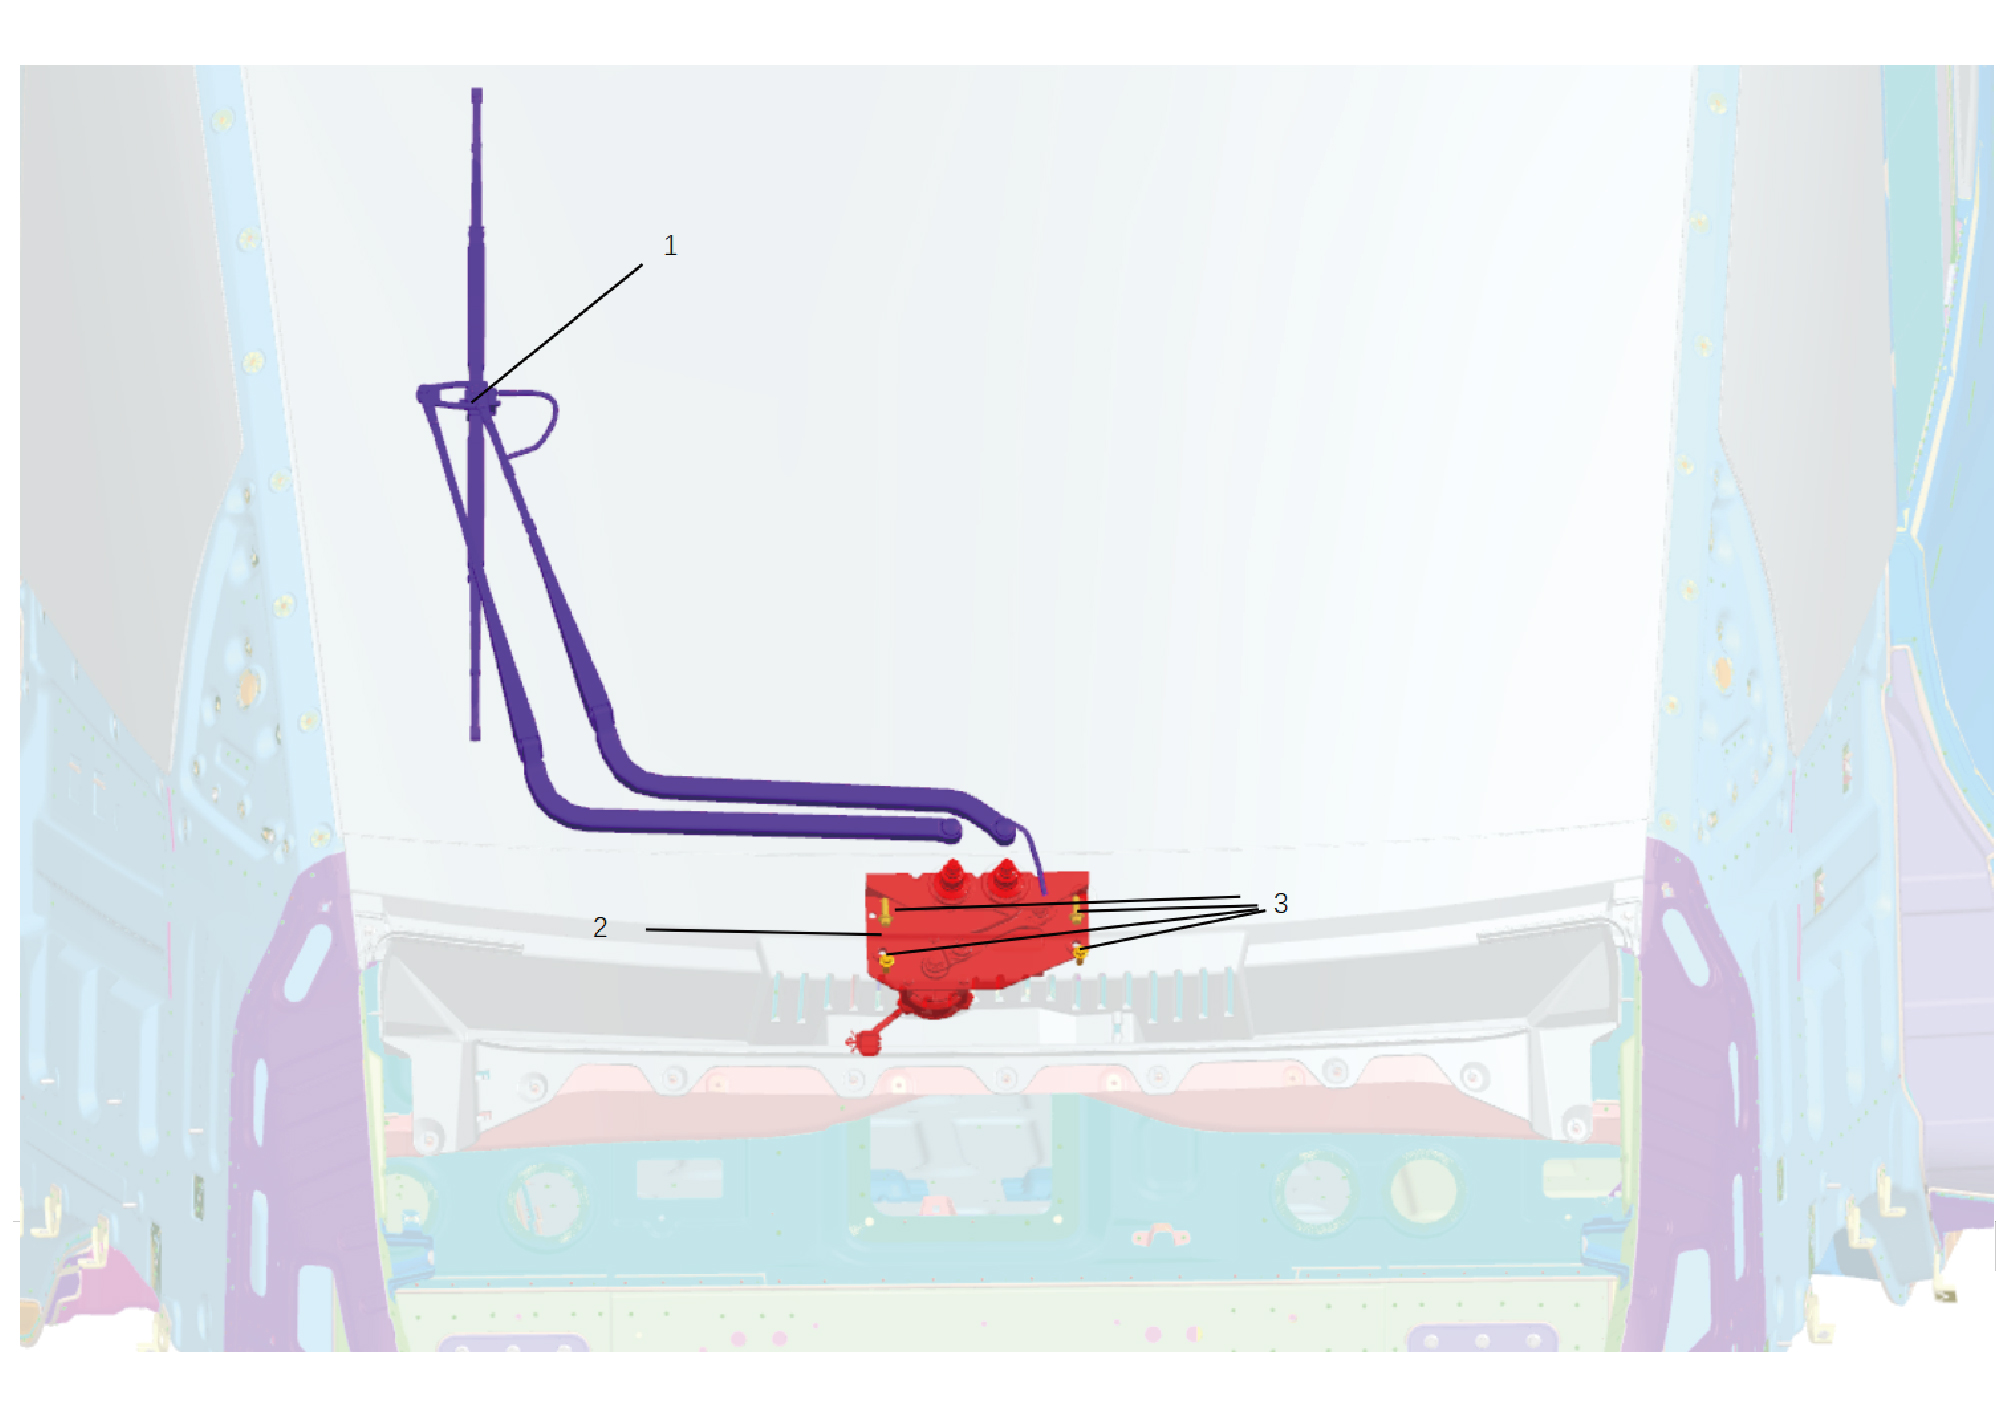
1.
Wiper Arm Assy
3.
Hexagon Flange Bolt
2.
Wiper Motor Assy
7.13.4 Inspect
7.13.4.1 Inspection of Wiper
Power on the vehicle, turn on the wiper switch, and check the
wiper is working properly at each gear.
7.13.5 Dismantling and Installation
7.13.5.1 Replacement of Wiper Motor Assembly
Assembly
Removal Procedures
1
Open the door.
2
Open the front flip cover plate.
3
Disconnect the battery negative cable.
caution
power down the high-voltage system before
disconnecting the negative pole of the storage
battery.
4
Remove the primary wiper arm blade assembly (nozzle
and hose).
5
Remove the front windshield cover plate assembly.
6
Disconnect 1 harness connector of the wiper motor
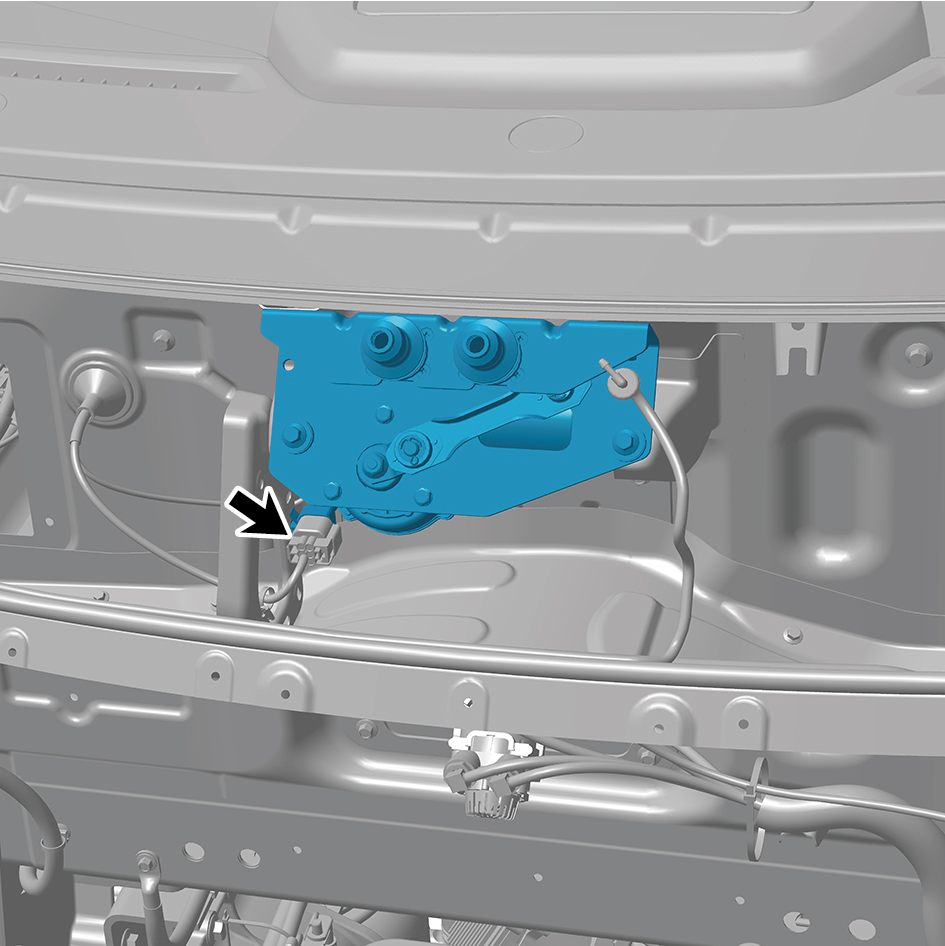
assembly.
7
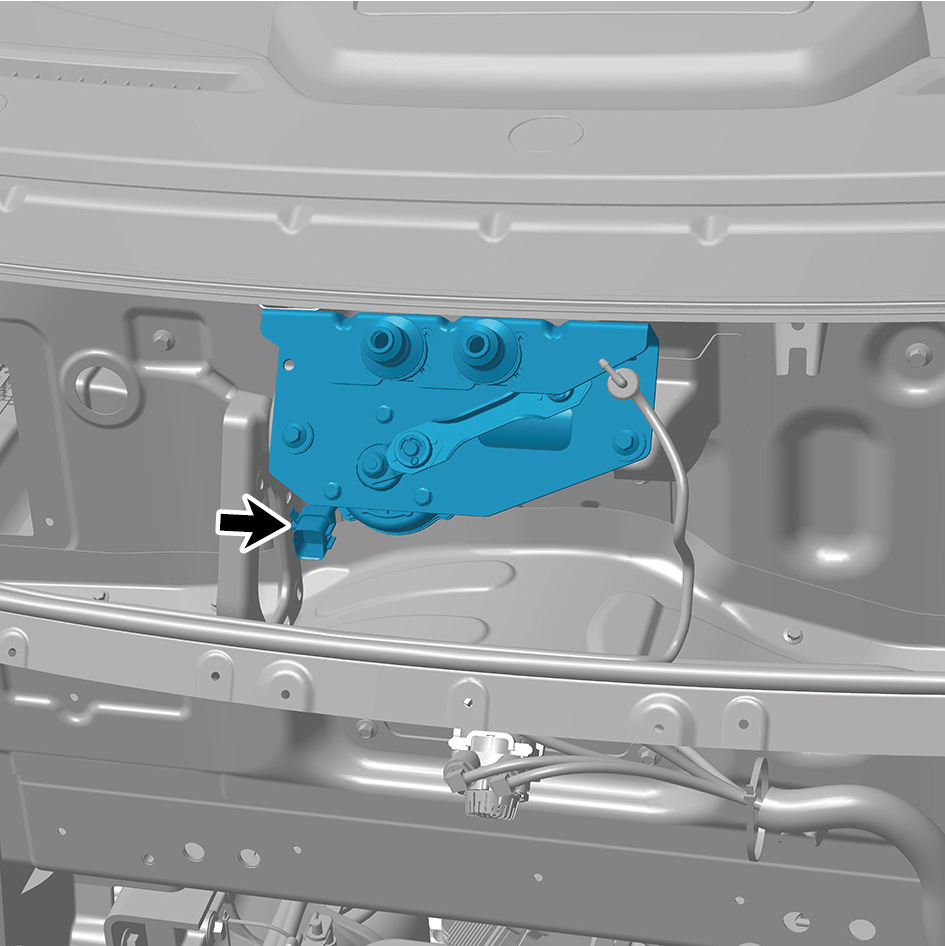
Disengage 1 clip of the wiper motor assembly.
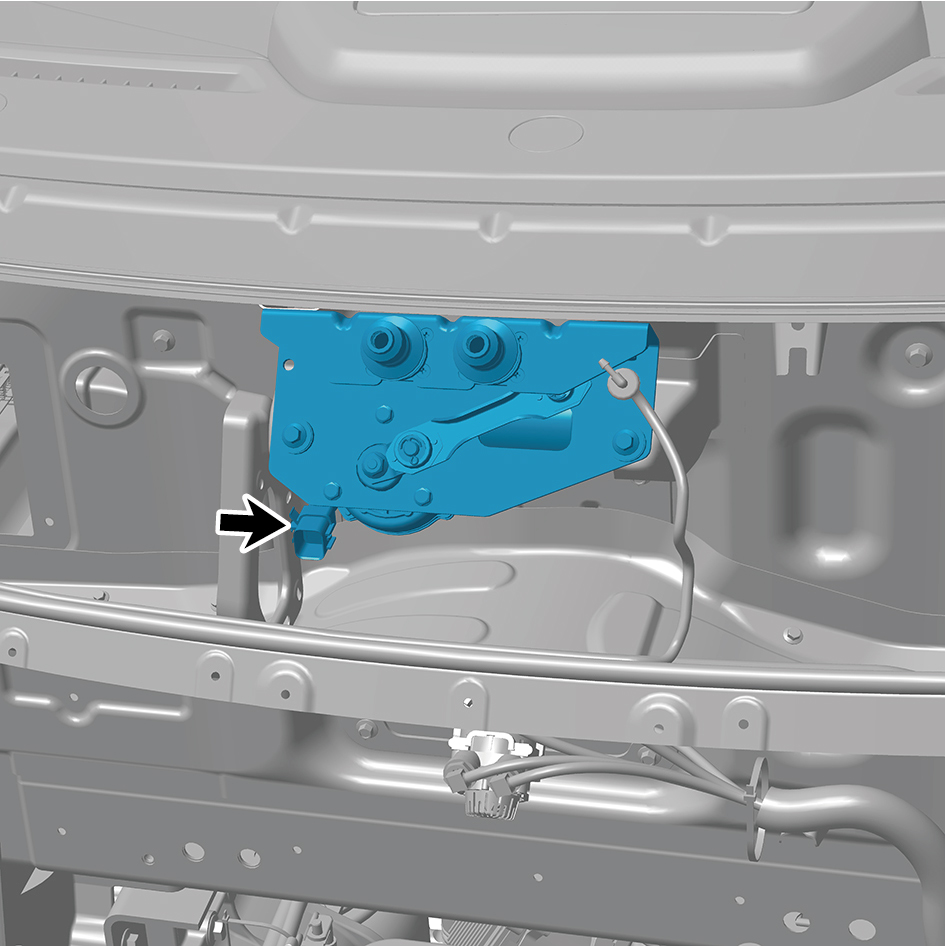
8
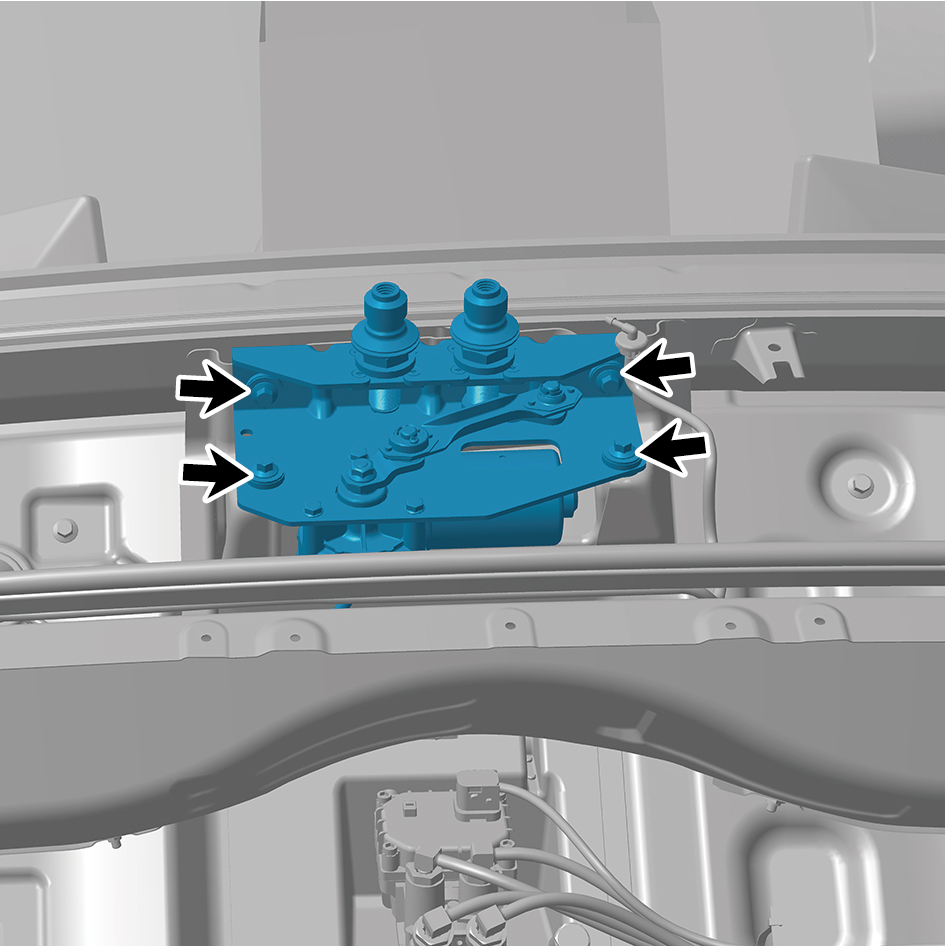
Remove 4 fixing bolts of the wiper motor assembly.
9
Remove the wiper motor assembly.
Installation Procedures
1
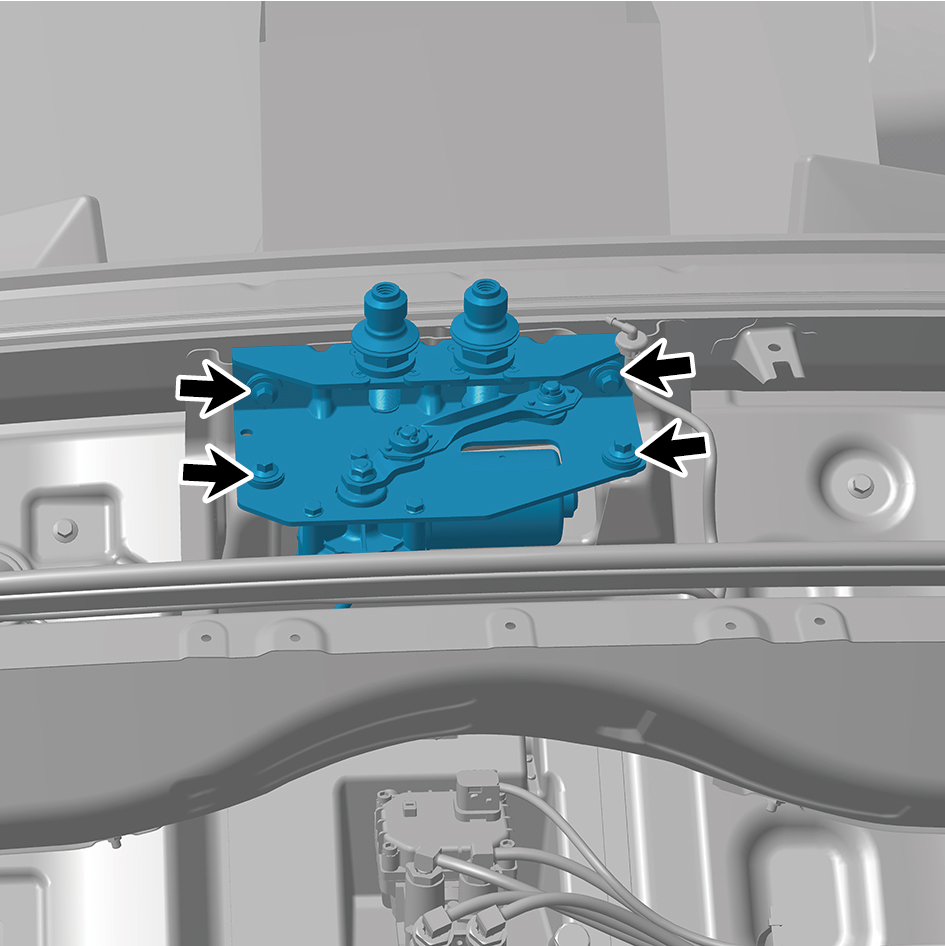
Move the wiper motor assembly to the mounting position.
2
Install 4 fixing bolts of the wiper motor assembly.
Torque: (18.5 +/- 2) ft lbs
3
Install 1 clip of the wiper motor assembly.
4
Connect 1 harness connector of the wiper motor
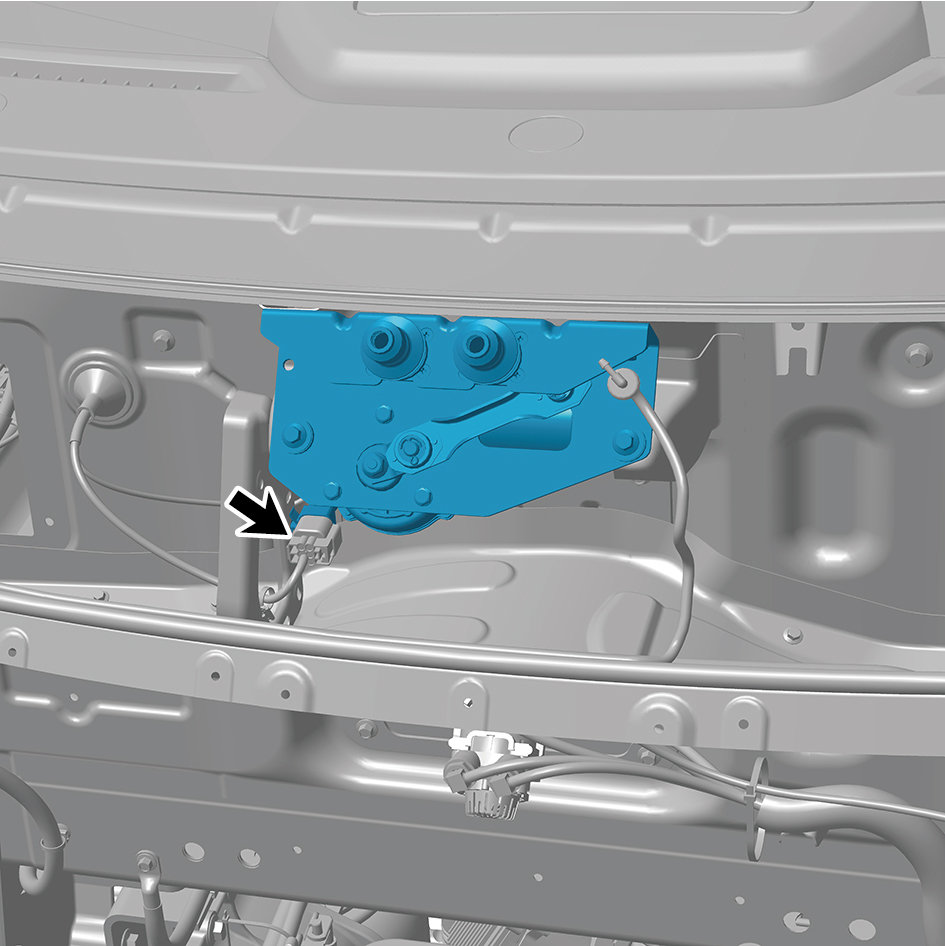
assembly.
caution
The harness is firmly connected following the
principal of "insert until a click is heard for
confirmation".
5
Install the front windshield cover plate assembly.
6
Install the primary wiper arm blade assembly (nozzle and
hose).
7
Connect the battery negative cable.
8
Close the front flip cover plate.
9
Close the door.
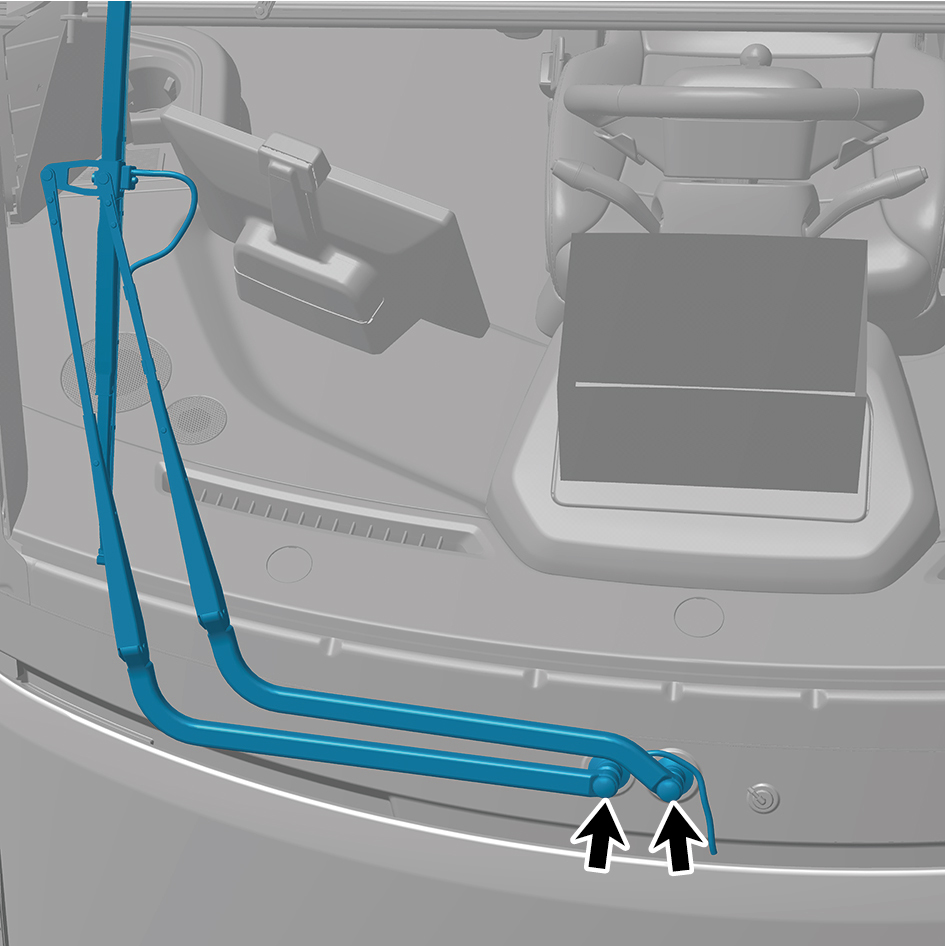
7.13.5.2 Replacement of Primary Wiper Arm Blade Assembly (nozzle and hose)
Blade Assembly (nozzle and hose)
Removal Procedures
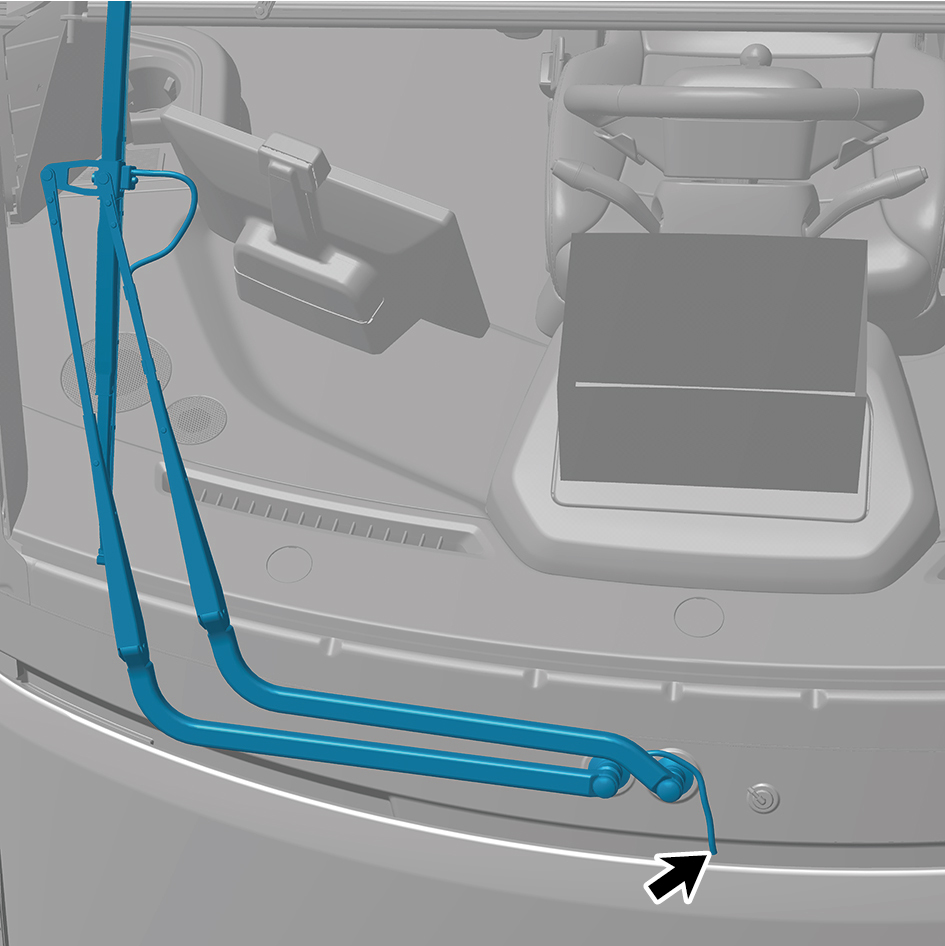
1
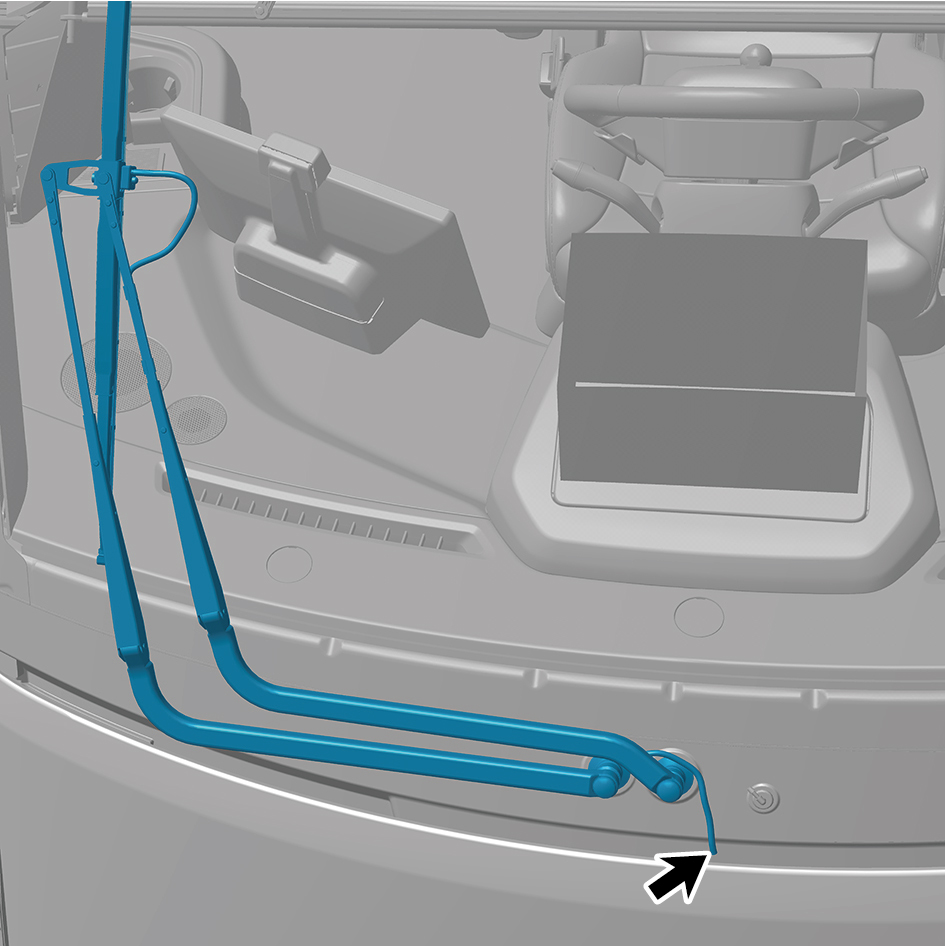
Disconnect the hose.
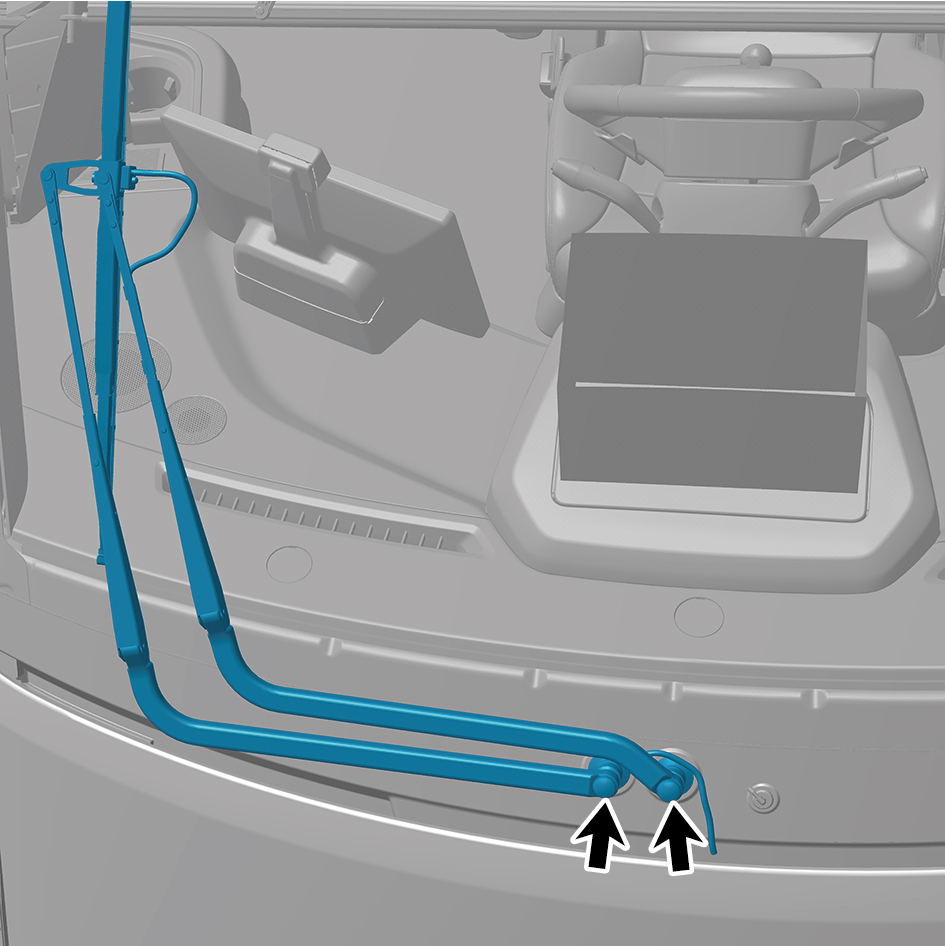
2
Remove 2 plug caps.
3
Remove 2 fixing nuts of the primary wiper arm blade
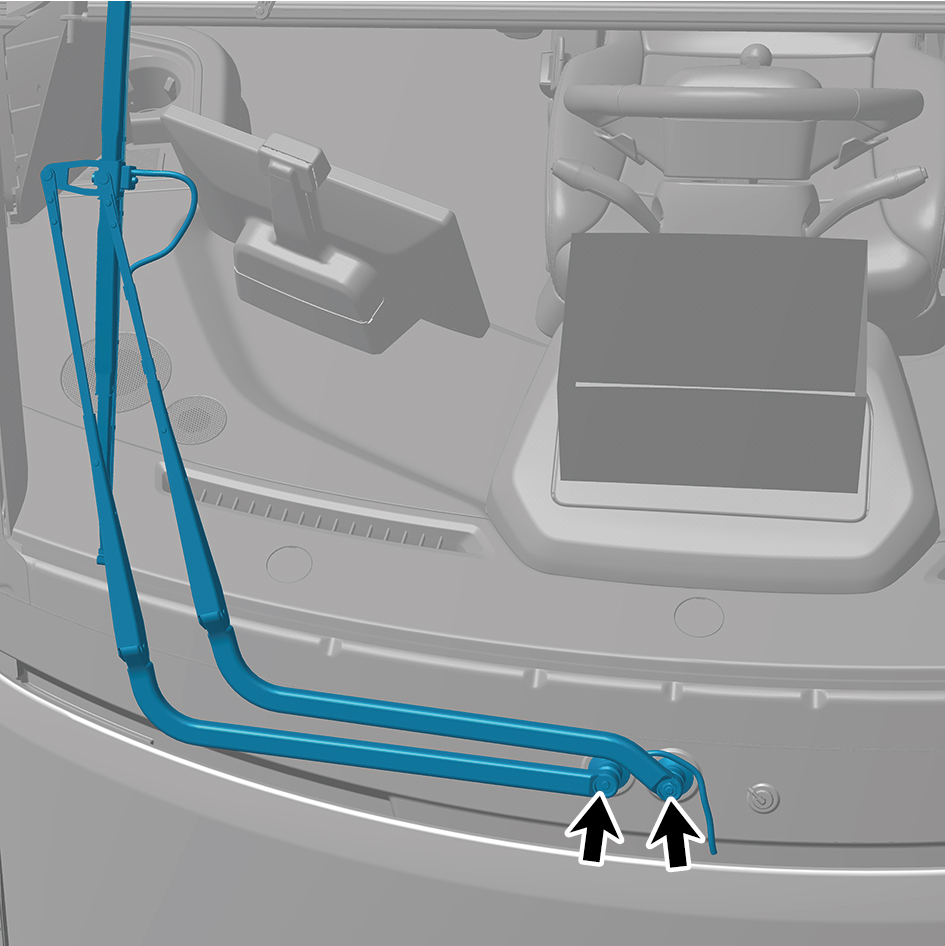
assembly (nozzle and hose).
4
Remove the primary wiper arm blade assembly (nozzle
and hose).
Installation Procedures
1
Move the primary wiper arm blade assembly (nozzle and
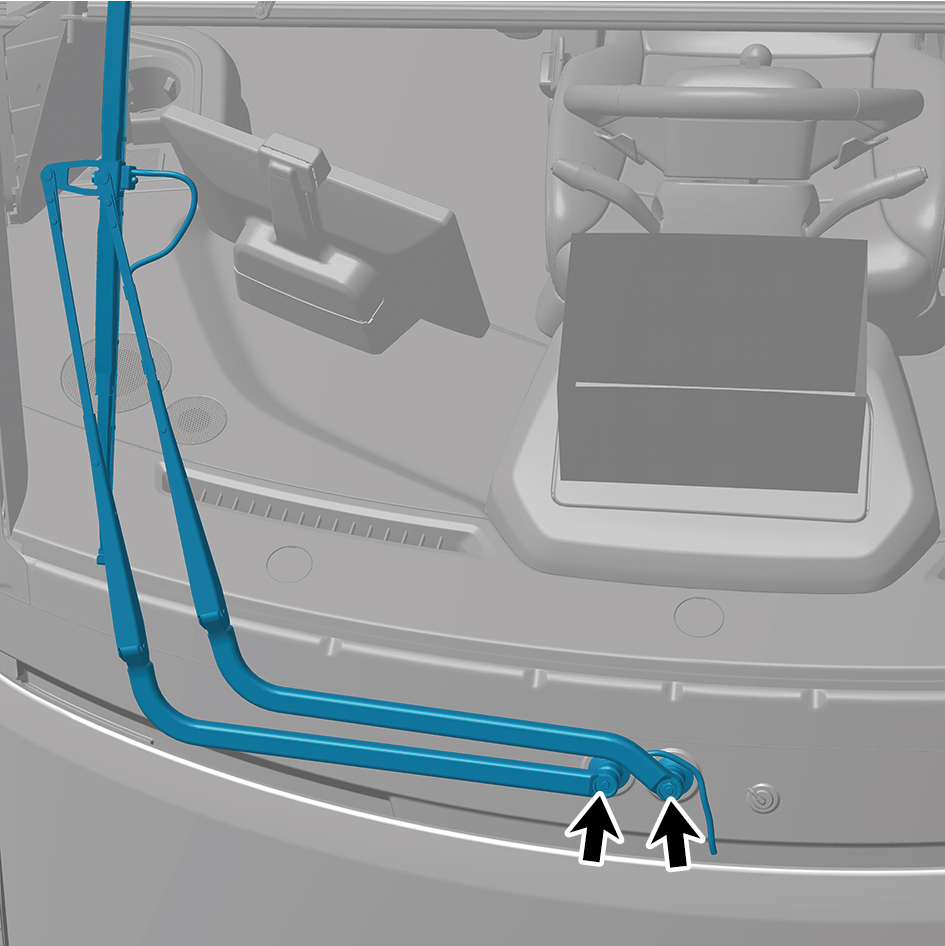
hose) to the mounting position.
2
Install 2 fixing nuts of the primary wiper arm blade
assembly (nozzle and hose).
Torque: (14.5 +/- 17) ft lbs
caution
1.When the windshield wipers are in the parked
position, the distance between the lowest point of
the wiper blade and the black edge at the lower
margin of the windshield shall be within the range of
(55–65) mm.
2.In the low-speed gear, it is normal for the wiper
blade to keep its entire wiping range within the black
edge of the glass during one cycle. If it exceeds the
black edge, stop the wiper operation and adjust the
initial position of the wiper blade.
3
Install 2 plug caps.
4
Connect the hose.