← Back to Contents
6 Vehicle Body / 6.7 Carpet Device | PDF pages 577-585
6.7 Carpet Device
6.7 Carpet Device
6.7.1 Decomposition Diagram
6.7.1.1 Decomposition Diagram
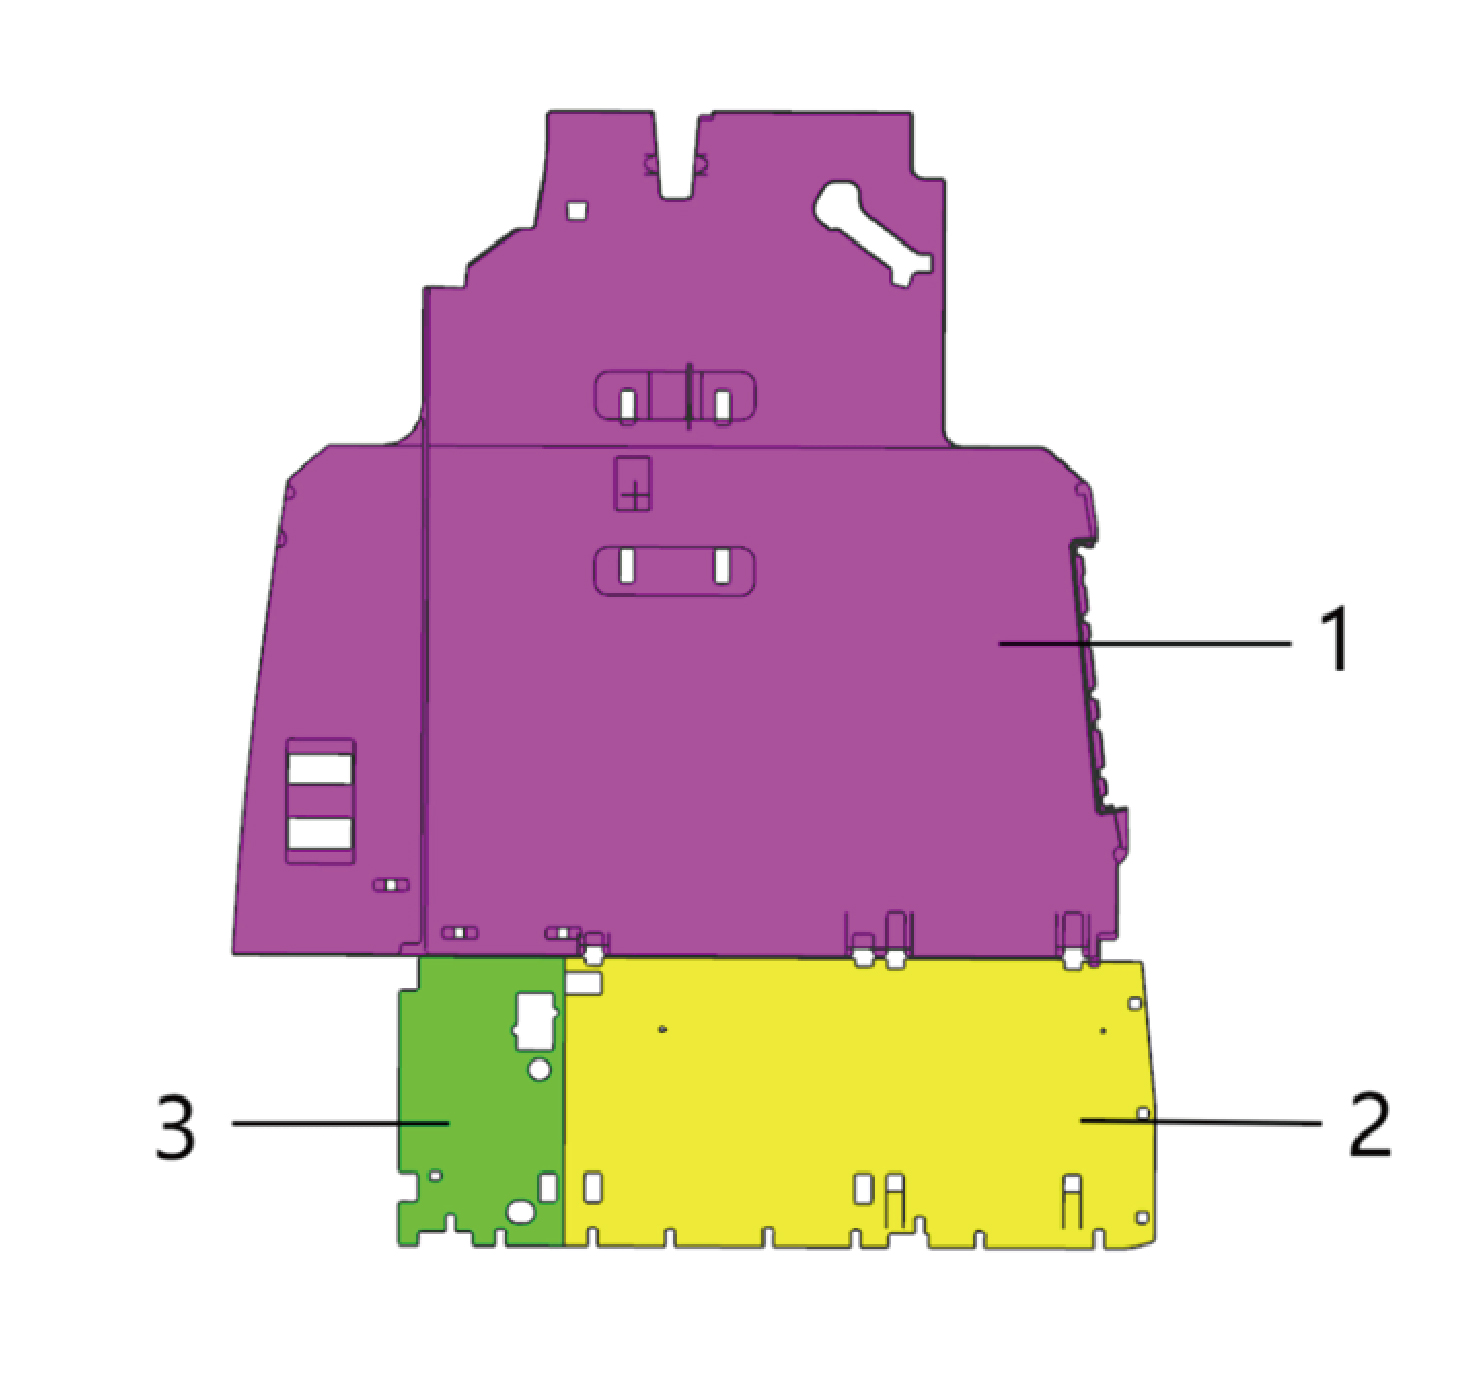
1.
3.
Carpet-frt
Carpet-Rr(left)
2.
Carpet-Rr(right)
6.7.2 Dismantling and Installation
6.7.2.1 Replacement of Front Carpet
Removal Procedures
1
Release air pressure from the brake system.
2
Open the door.
3
Open the front flip cover plate.
4
Disconnect the battery negative cable.
5
Perform power-off of high voltage system.
6
Recycle A/C refrigerant.
7
Remove the wiper arm assy.
8
Remove the assembly of the front windshield cover.
9
Remove the dab decorative cove.
10
Remove the steering wheel assy.
11
Remove the cover-combination switch-lor.
12
Remove the ip brim assy.
13
Remove the IVI screen.
14
Remove the CAR screen.
15
Remove the IPC screen.
16
Remove the upr cover- lh camera brkt.
17
Remove the camera monitor screen.
18
Remove the base-lh display brkt.
19
Remove the upr cover- rh camera brkt.
20
Remove the camera monitor screen-rh.
21
Remove the base-rh display brkt.
22
Remove the a-pillar guard assy-lh.
23
Remove the a-pillar guard assy-rh.
24
Remove the assembly of the instrument panel trim panel
assy- lowerr lh.
25
Remove the front side enclosure assy-lh.
26
Remove the cover assy-dashboard-lh frt.
27
Remove the trim assy on the switch panel-lh.
28
Remove the switch panel lower trim assy-lh.
29
Remove the vehicle travelling data recorder.
30
Remove the instrument panel trim panel assy- upper lh.
31
Remove the air vent decorative plate assy-lh.
32
Remove the assembly of the cover assy-steering under
column guard.
33
Remove the front side enclosure assy-rh.
34
Remove the cover assy-dashboard-rh frt.
35
Remove the switch panel assy-rh.
36
Remove the lower switch panel assy-rh.
37
Remove the storage box assy-rh.
38
Remove the air vent decorative plate assy-rh.
39
Remove the ontology assy on the dashboard.
40
Remove the trim assy-dashboard-lh frt.
41
Remove the lor trim assy-dashboard-rh frt.
42
Remove the decorative plate assy-dashboard-rh frt.
43
Remove the cover assy-defrost frt.
44
Remove the ontology assy under the dashboard.
45
Remove the AR-HUD.
46
Remove the fixing bracket-lh.
47
Remove the smart appliance box.
48
Remove the cockpit domain controller.
49
Remove the cockpit domain controller bracket.
50
Remove the Tbox-gw.
51
Remove the Tbox-gw bracket.
52
Remove the EBS controller assy.
53
Remove the EBS bracket.
54
Remove the body domain control unit.
55
Remove the controller bracket assy.
56
Remove the cross car beam pole.
57
Remove the cross car beam assy.
58
Remove the right foot blowing duct assembly.
59
Remove the storage box bracket assembly.
60
Remove the HVAC assembly (including PTC) - front right.
61
Remove the left foot blowing duct assembly.
62
Remove the HVAC assembly (including PTC) - front left.
63
Remove the speaker - low pitch (left).
64
Remove the speaker - low pitch (right).
65
Remove the low-pitch speaker bracket - left.
66
Remove the low-pitch speaker bracket - right.
67
Remove the steering column fixing bracket 1.
68
Remove the steering column fixing bracket 2.
69
Remove the brake signal transmitter assembly.
70
Remove the brake pedal assembly.
71
Remove the accelerator pedal assembly.
72
Remove the kettle holder.
73
Remove the kettle holder bracket assembly.
74
Remove the sleeper mat assembly.
75
Remove the rear A/C lower air duct.
76
Remove the fire extinguisher.
77
Remove the left middle side wall lower trim panel
assembly.
78
Remove the left middle side wall middle trim panel
assembly.
caution
1.First remove the break glass hammer's zipper
cover, carefully take out the break glass hammer's
pull ring and place it inside the trim panel.
2.Be careful to avoid accidentally pulling the break
glass hammer's pull ring.
79
Remove the toolbox left trim panel assembly.
80
Remove the 120V receptacle.
81
Remove the vehicle power supply (12V).
82
Remove the interior temperature sensor (rear).
83
Remove the toolbox trim panel assembly.
84
Remove the toolbox sill molding assembly.
85
Remove the toolbox lamp.
86
Remove the toolbox lamp bracket.
87
Remove the sleeper toolbox.
88
Remove the electric sliding door switch.
89
Remove the right B-pillar upper protective plate assembly.
90
Remove the right sill molding assembly.
91
Remove the driver seat assembly.
92
Remove the front carpet.
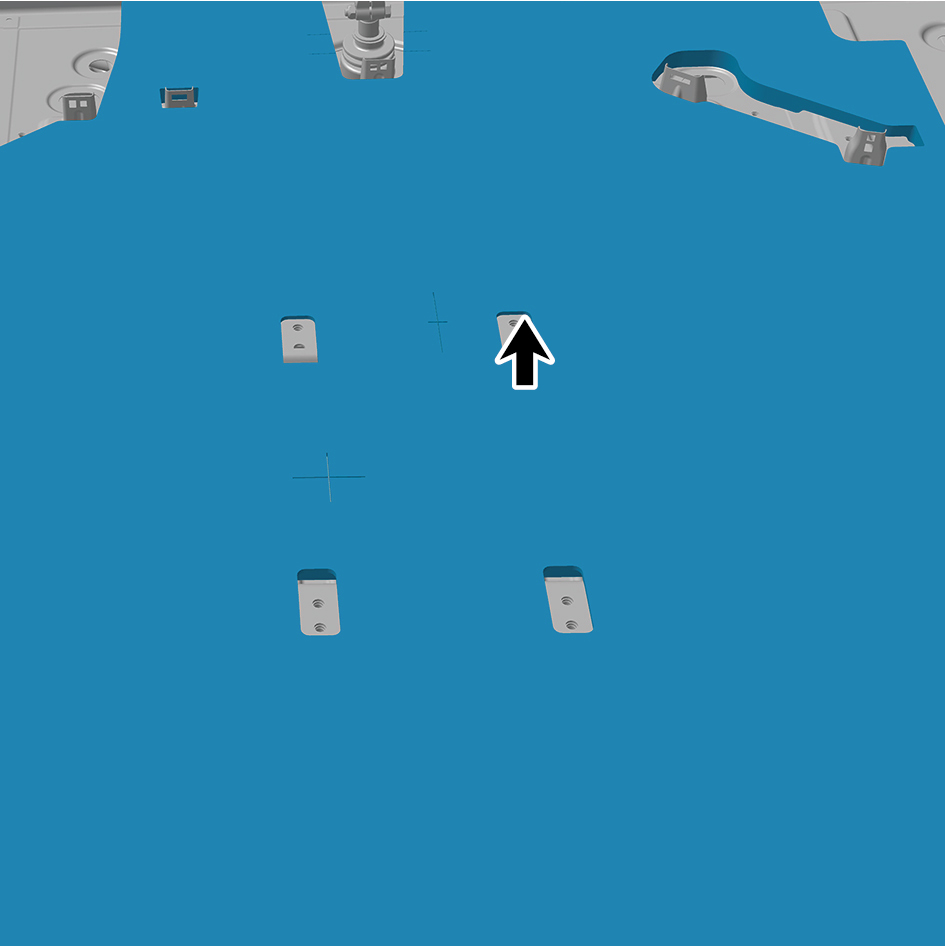
Installation Procedures
1
Install the front carpet.
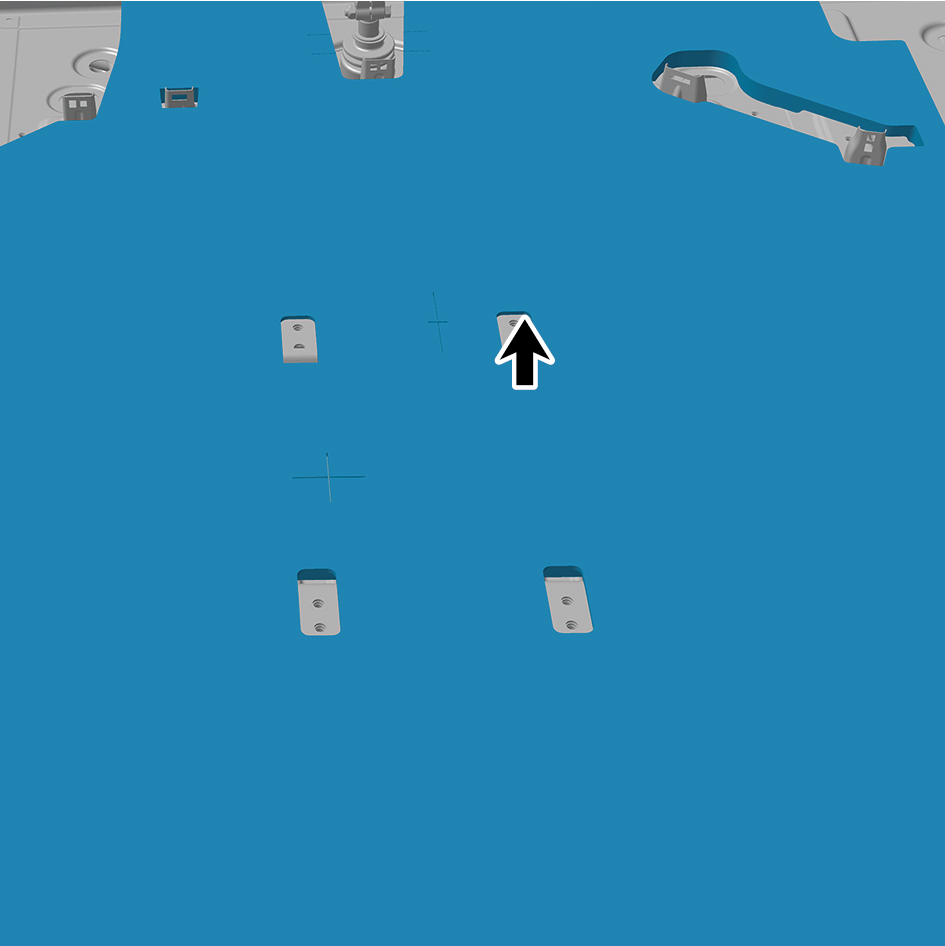
2
Install the driver seat assembly.
3
Install the right sill molding assembly.
4
Install the right B-pillar upper protective plate assembly.
5
Install the electric sliding door switch.
6
Install the sleeper toolbox.
7
Install the toolbox lamp bracket.
8
Install the toolbox lamp.
9
Install the toolbox sill molding assembly.
10
Install the toolbox trim panel assembly.
11
Install the interior temperature sensor (rear).
12
Install the vehicle power supply (12V).
13
Install the 120V receptacle.
14
Install the toolbox left trim panel assembly.
15
Install the left middle side wall middle trim panel assembly.
16
Install the left middle side wall lower trim panel assembly.
17
Install the fire extinguisher.
18
Install the rear A/C lower air duct.
19
Install the sleeper mat assembly.
20
Install the kettle holder bracket assembly.
21
Install the kettle holder.
22
Install the accelerator pedal assembly.
23
Install the brake pedal assembly.
24
Install the brake signal transmitter assembly.
25
Install the steering column fixing bracket 2.
26
Install the steering column fixing bracket 1.
27
Install the low-pitch speaker bracket - right.
28
Install the low-pitch speaker bracket - left.
29
Install the speaker - low pitch (right).
30
Install the speaker - low pitch (left).
31
Install the HVAC assembly (including PTC) - front left.
32
Install the left foot blowing duct assembly.
33
Install the HVAC assembly (including PTC) - front right.
34
Install the storage box bracket assembly.
35
Install the right foot blowing duct assembly.
36
Install the cross car beam assy.
37
Install the cross car beam pole.
38
Install the controller bracket assy.
39
Install the body domain control unit.
40
Install the EBS bracket.
41
Install the EBS controller assy.
42
Install the Tbox-gw bracket.
43
Install the Tbox-gw.
44
Install the cockpit domain controller bracket.
45
Install the cockpit domain controller.
46
Install the smart appliance box.
47
Install the fixing bracket-lh.
48
Install the AR-HUD.
49
Install the ontology assy under the dashboard.
50
Install the cover assy-defrost frt.
51
Install the decorative plate assy-dashboard-rh frt.
52
Install the lor trim assy-dashboard-rh frt.
53
Install the trim assy-dashboard-lh frt.
54
Install the ontology assy on the dashboard.
55
Install the air vent decorative plate assy-rh.
56
Install the storage box assy-rh.
57
Install the lower switch panel assy-rh.
58
Install the switch panel assy-rh.
59
Install the cover assy-dashboard-rh frt.
60
Install the front side enclosure assy-rh.
61
Install the assembly of the cover assy-steering under
column guard.
62
Install the air vent decorative plate assy-lh.
63
Install the instrument panel trim panel assy- upper lh.
64
Install the vehicle travelling data recorder.
65
Install the switch panel lower trim assy-lh.
66
Install the trim assy on the switch panel-lh.
67
Install the cover assy-dashboard-lh frt.
68
Install the front side enclosure assy-lh.
69
Install the assembly of the instrument panel trim panel
assy- lowerr lh.
70
Install the a-pillar guard assy-rh.
71
Install the a-pillar guard assy-lh.
72
Install the base-rh display brkt.
73
Install the camera monitor screen-rh.
74
Install the upr cover- rh camera brkt.
75
Install the base-lh display brkt.
76
Install the camera monitor screen.
77
Install the upr cover- lh camera brkt.
78
Install the IPC screen.
79
Install the CAR screen.
80
Install the IVI screen.
81
Install the ip brim assy.
82
Install the cover-combination switch-lor.
83
Install the steering wheel assy.
84
Install the dab decorative cove.
85
Install the assembly of the front windshield cover.
86
Install the wiper arm assy.
87
Fill with A/C refrigerant.
88
Perform power-on of the high voltage system.
89
Connect the battery negative cable.
90
Close the front flip cover plate.
91
Close the door.
6.7.2.2 Replacement of Rear Carpet
Removal Procedures
1
Open the door.
2
Remove the sleeper mat assembly.
3
Remove the rear seat assembly.
4
Remove the seat rear storage box.
5
Remove the right drawer assembly.
6
Remove the middle drawer assembly.
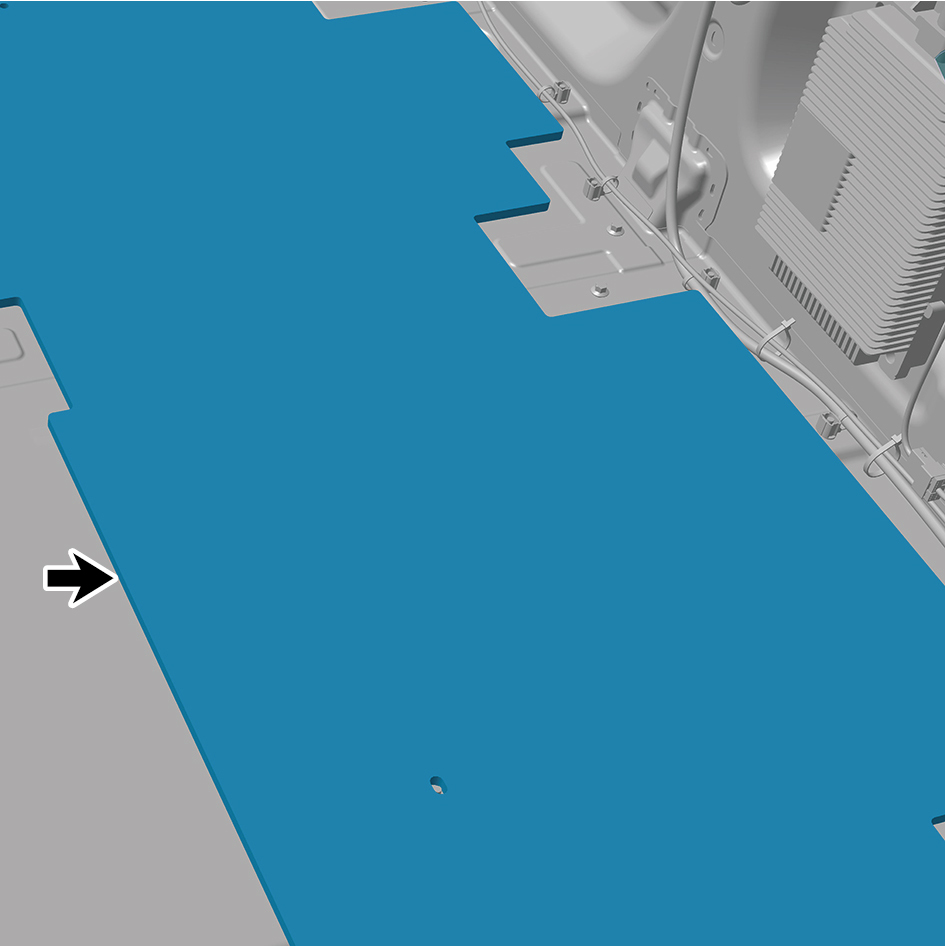
7
Remove the rear carpet.
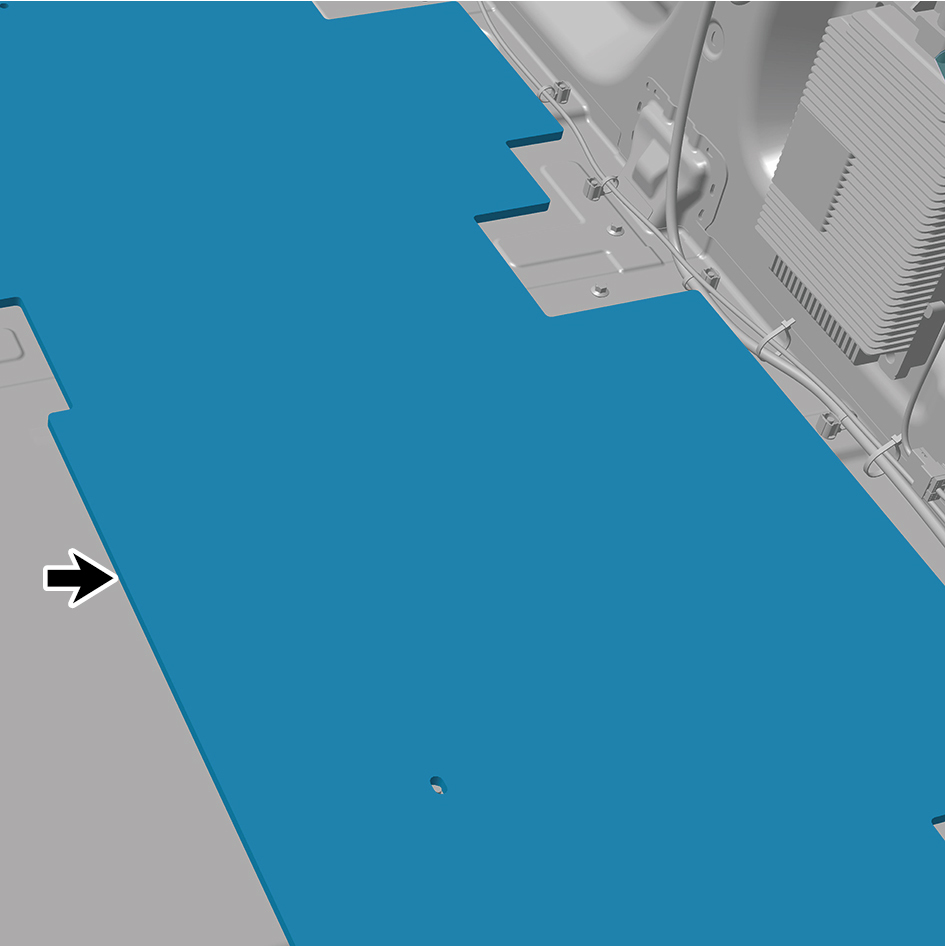
Installation Procedures
1
Install the rear carpet.
2
Install the middle drawer assembly.
3
Install the right drawer assembly.
4
Install the seat rear storage box.
5
Install the rear seat assembly.
6
Install the sleeper mat assembly.
7
Close the door.