← Back to Contents
6 Vehicle Body / 6.3 Front Lower Protection Device | PDF pages 514-521
6.3 Front Lower Protection Device
6.3 Front Lower Protection Device
6.3.1 specifications
6.3.1.1 Fastener Specifications
Range Of Torque
Fastener Specifications
Specifications
Metric System(ft-lb)
The fixing bolt connecting the front
lower protection assembly and the left
M10
37 ft-lb +/- 3.5 ft-lb
front connecting beam
The fixing nut connecting the front lower
protection assembly and the right front
M10
18.5 ft-lb +/- 2 ft-lb
connecting beam
6.3.2 Decomposition Diagram
6.3.2.1 Decomposition Diagram
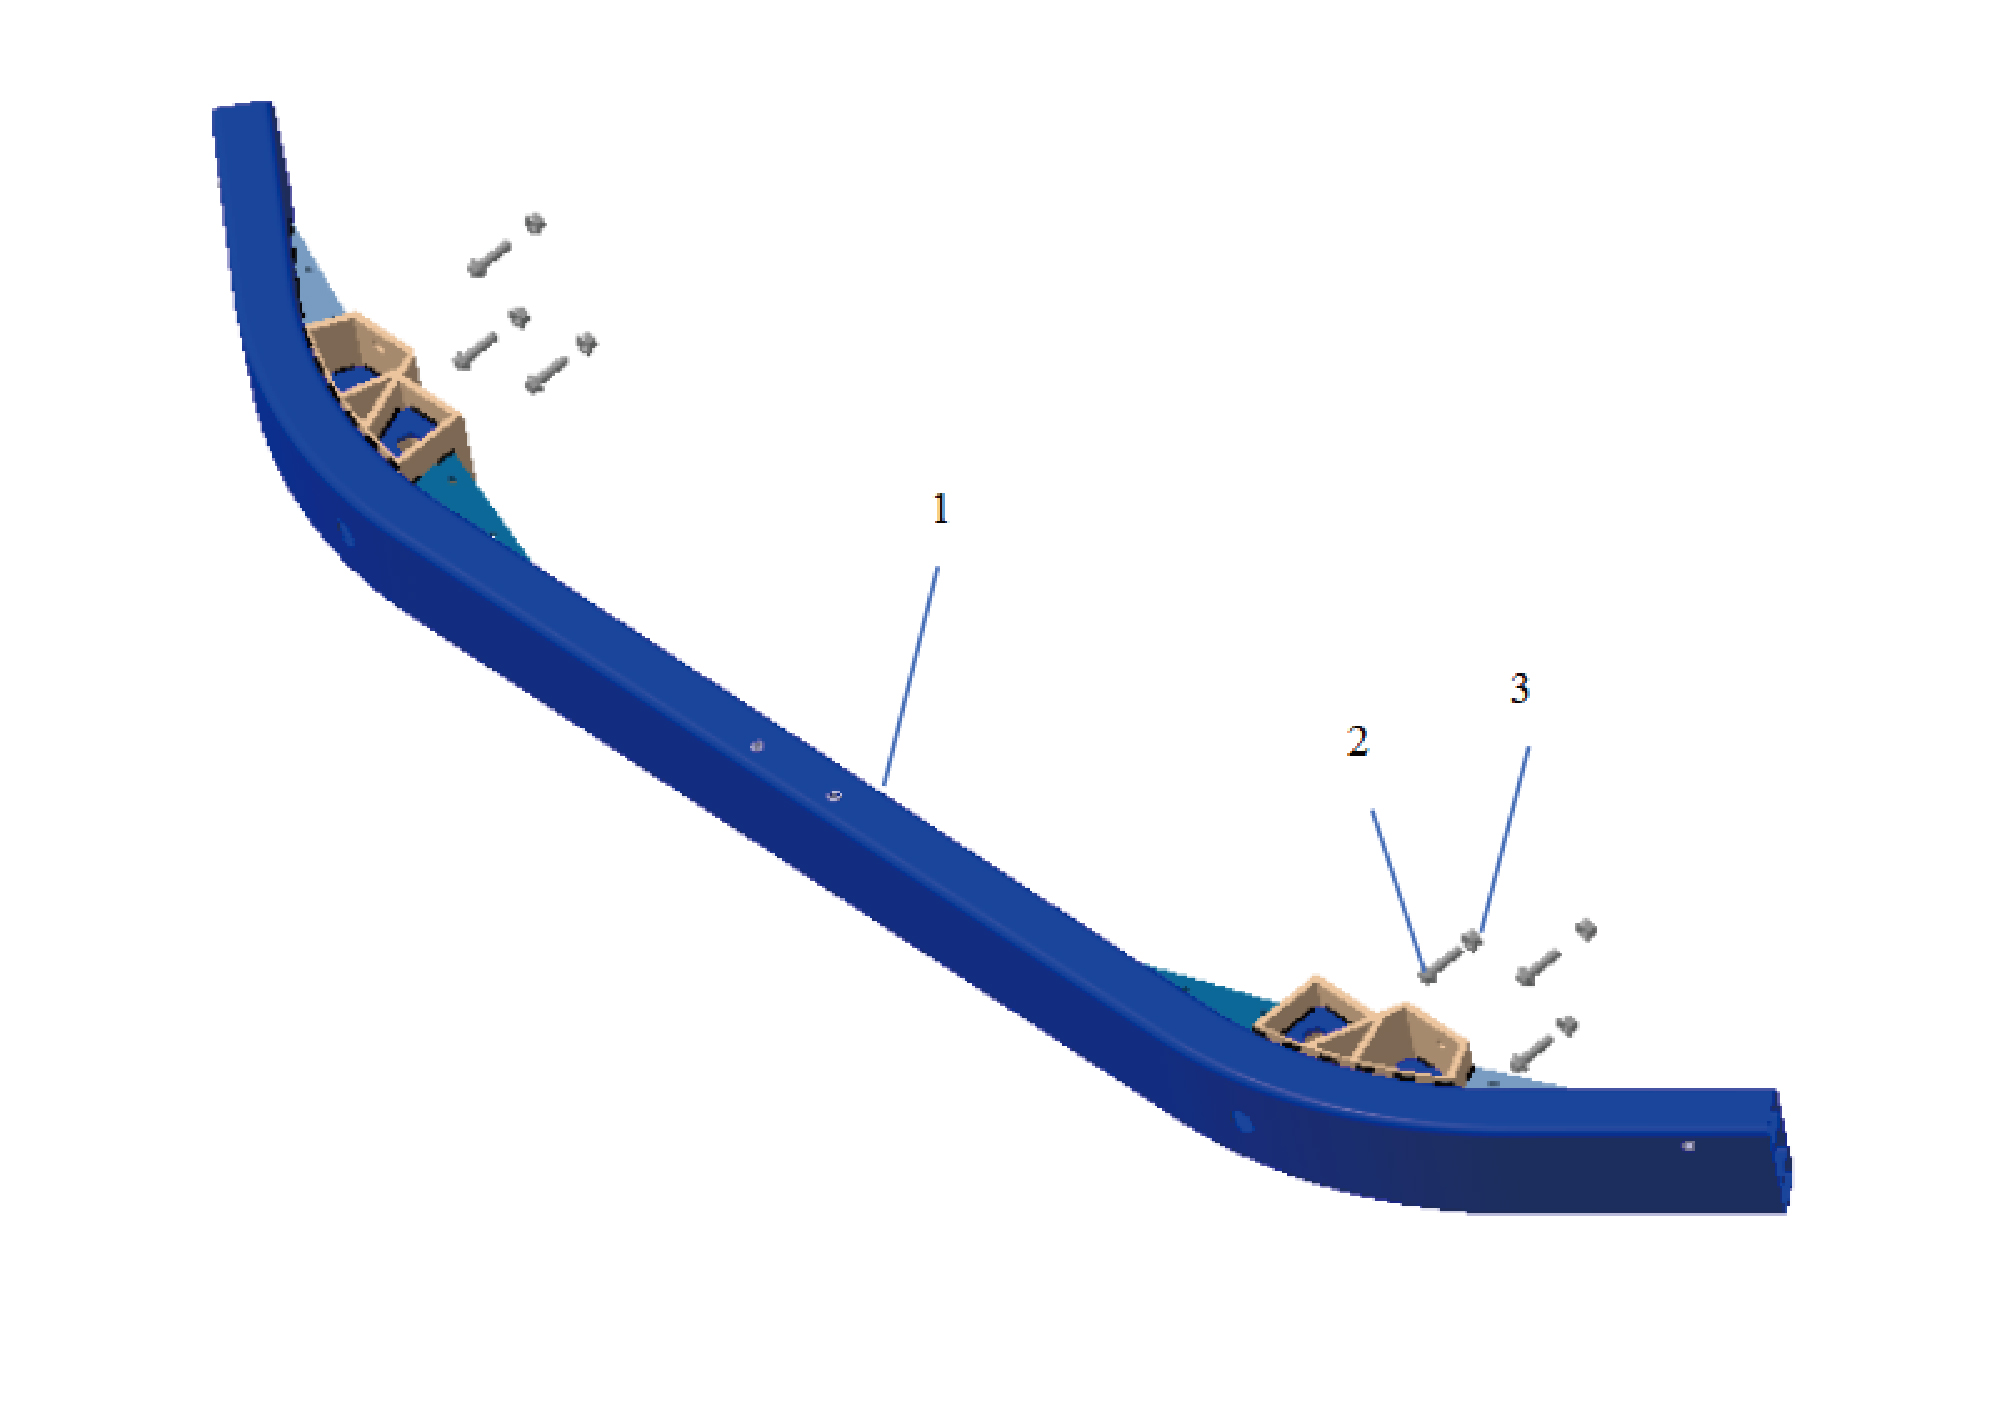
1.
Fl Protection Assy
3.
Hexagon Flange Self-Locking Nut
2.
Hexagon Flange Bolt
6.3.3 Dismantling and Installation
6.3.3.1 Replacement of Front Lower Protection Assembly
Assembly
Removal Procedures
1
Open the door.
2
Open the front flip cover plate.
3
Disconnect the battery negative cable.
caution
power down the high-voltage system before
disconnecting the negative pole of the storage
battery.
4
Remove the engine compartment trim panel body.
5
Remove the through-type lamp.
6
Remove the front MMW radar shield.
7
Remove the forward MMW radar.
8
Remove the front MMW radar adapter bracket.
9
Remove the left cover plate of the corner radar.
10
Remove the right cover plate of the corner radar.
11
Remove the front bumper assembly.
12
Remove the MMW radar bracket.
13
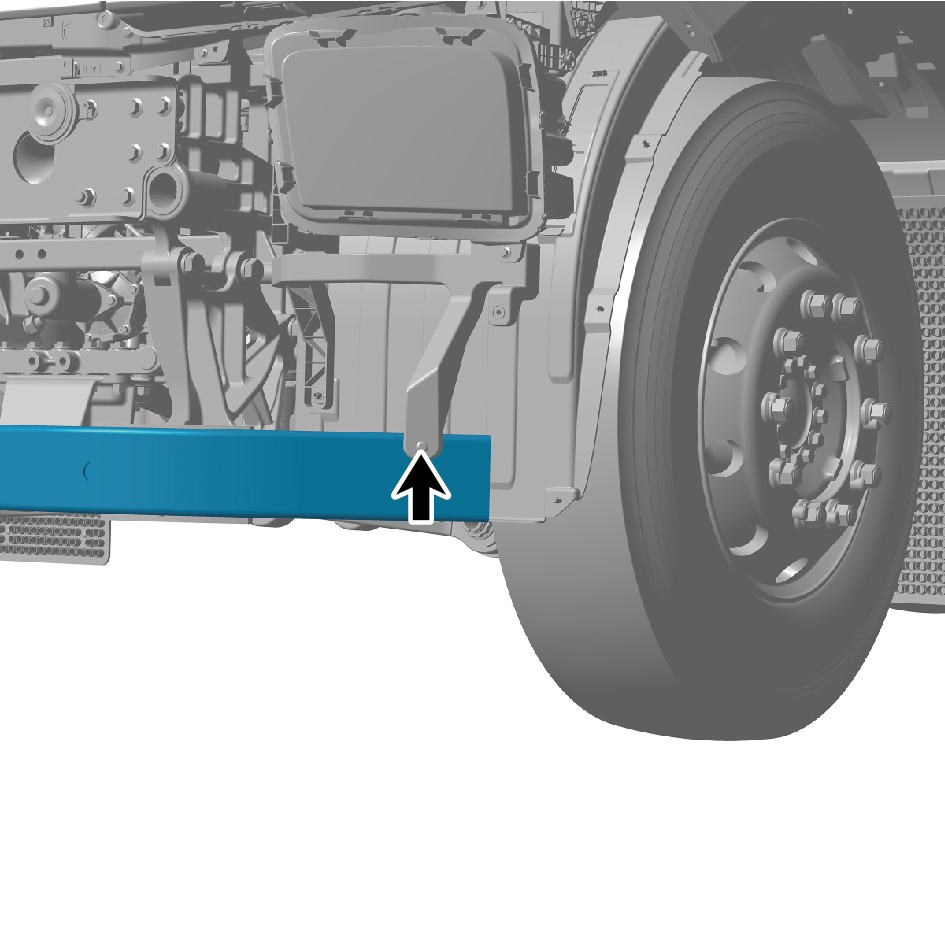
Remove 2 fixing bolts connecting the front lower
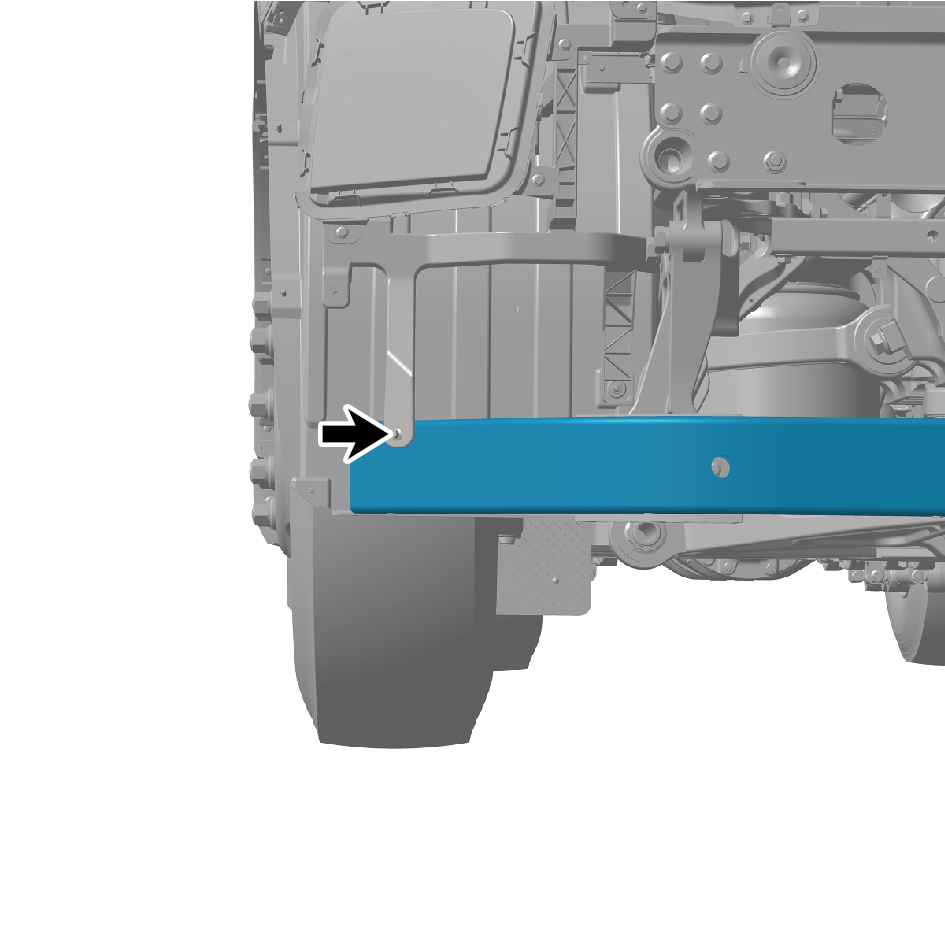
protection assembly to the headlamp bracket.
14
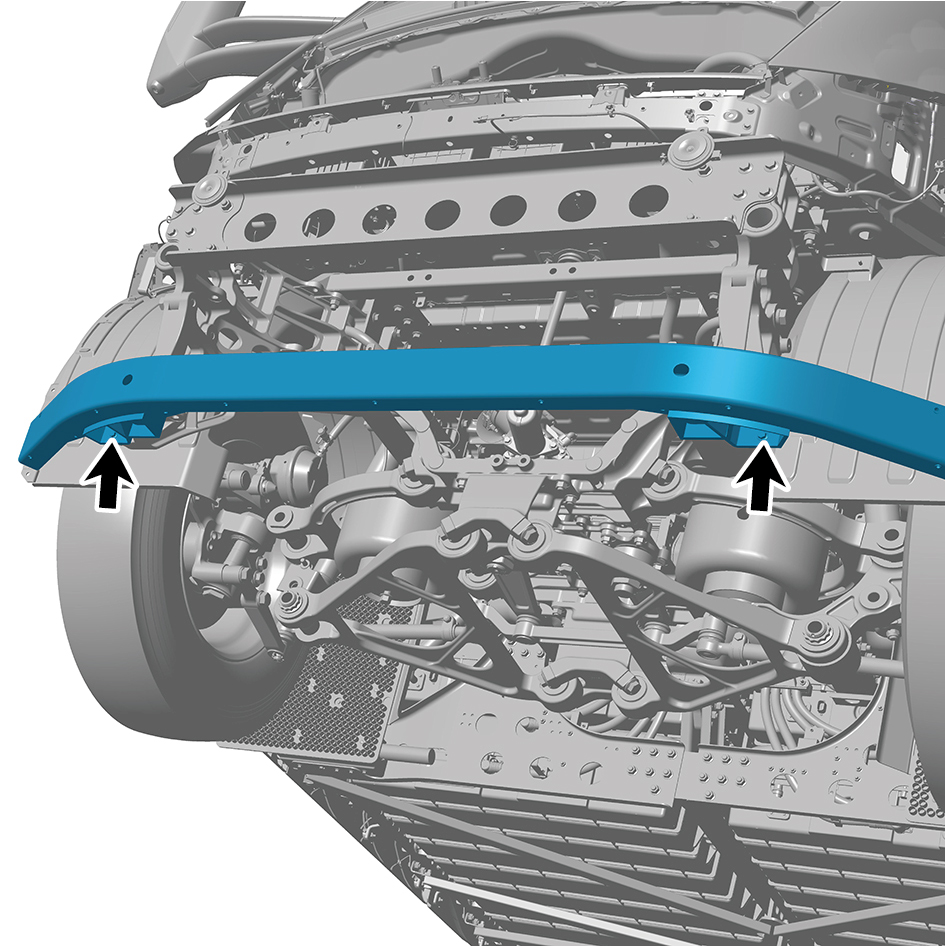
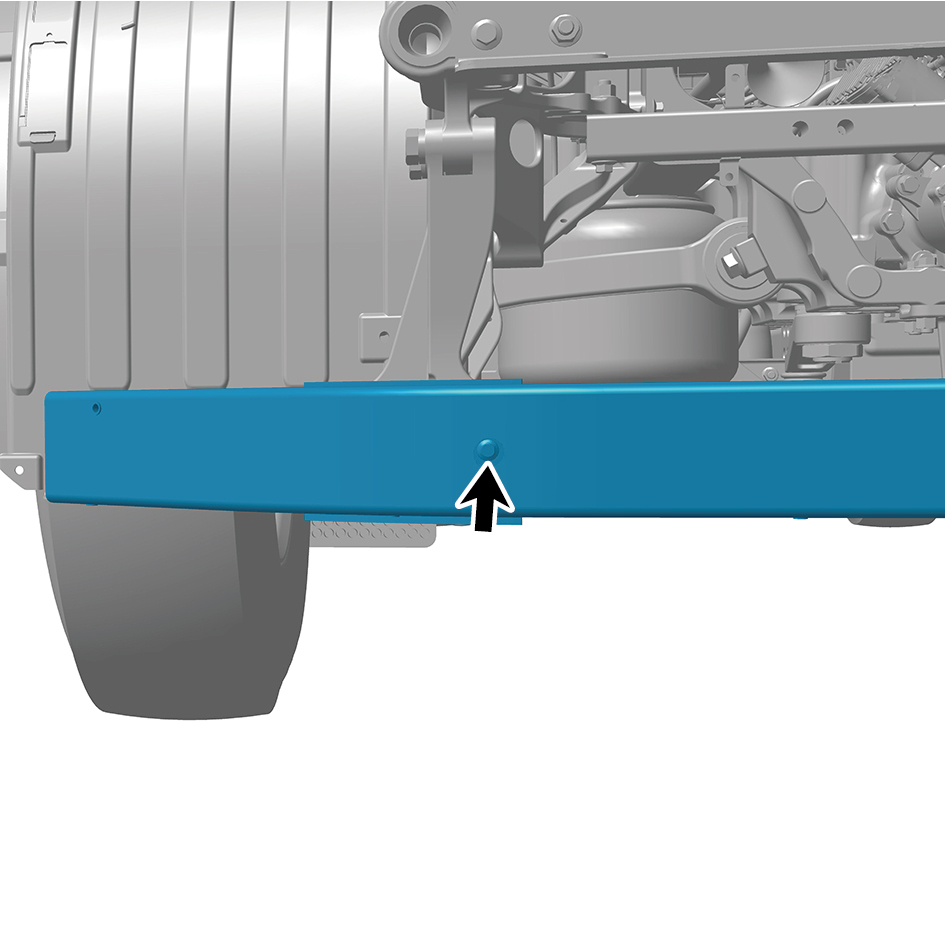
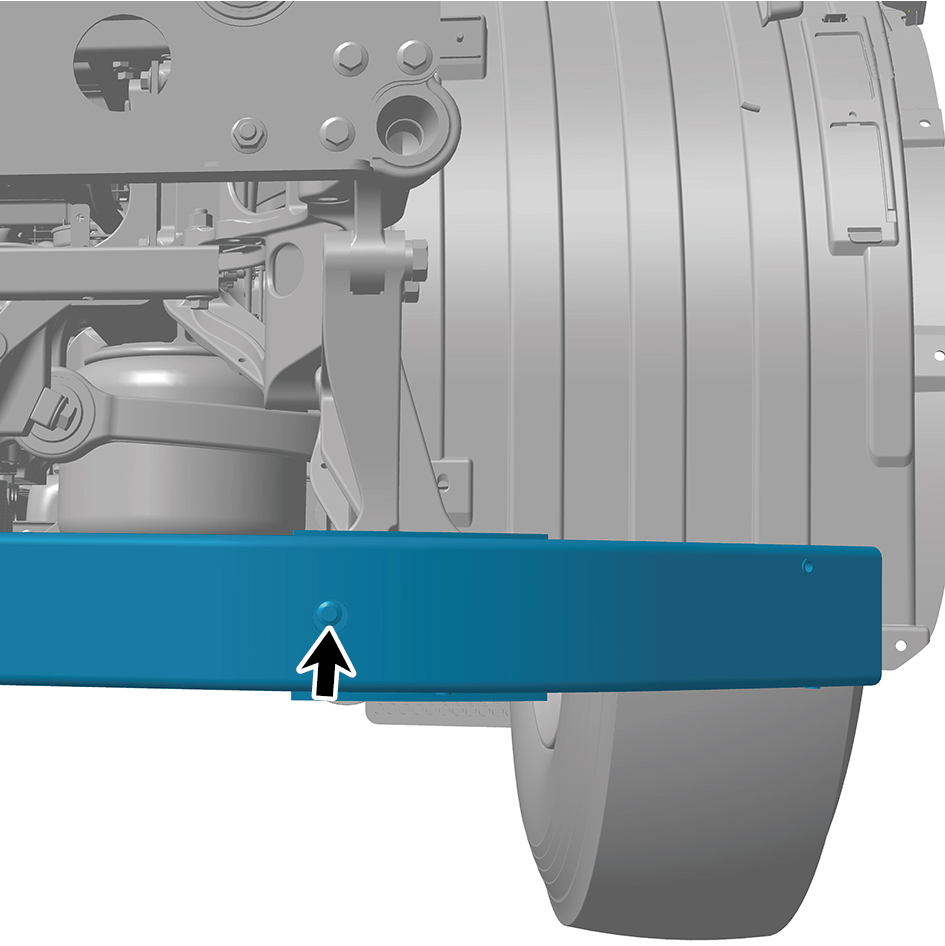
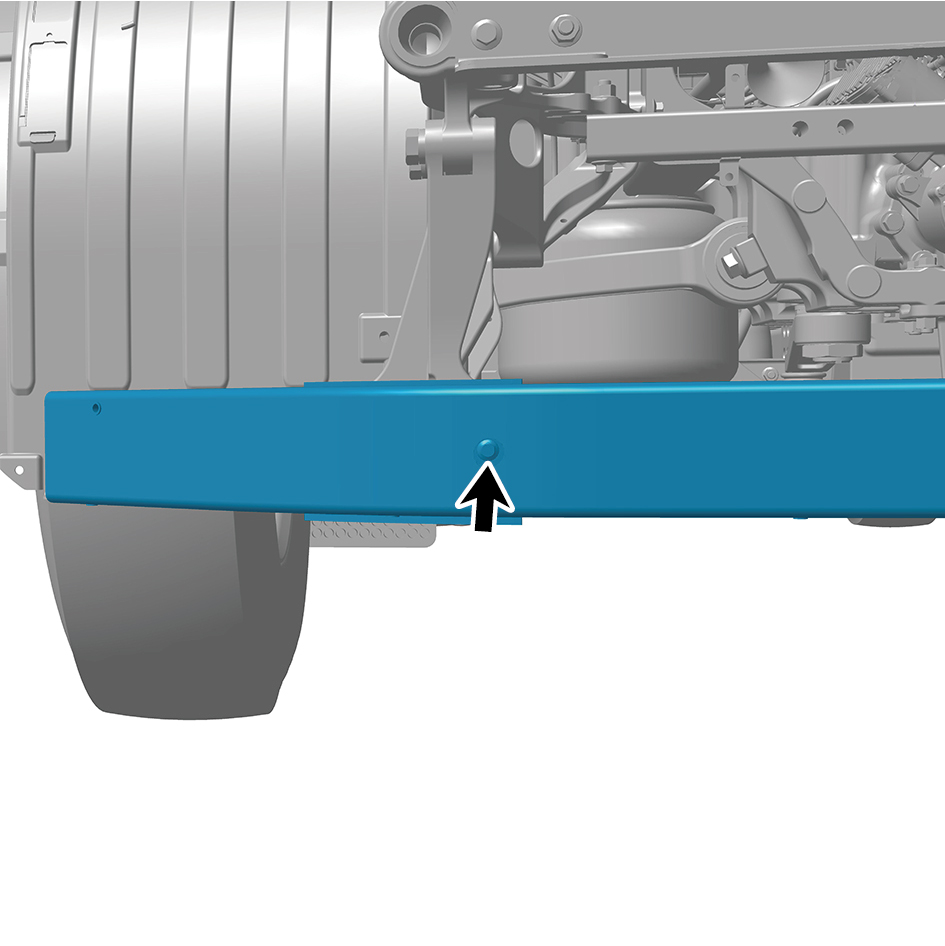
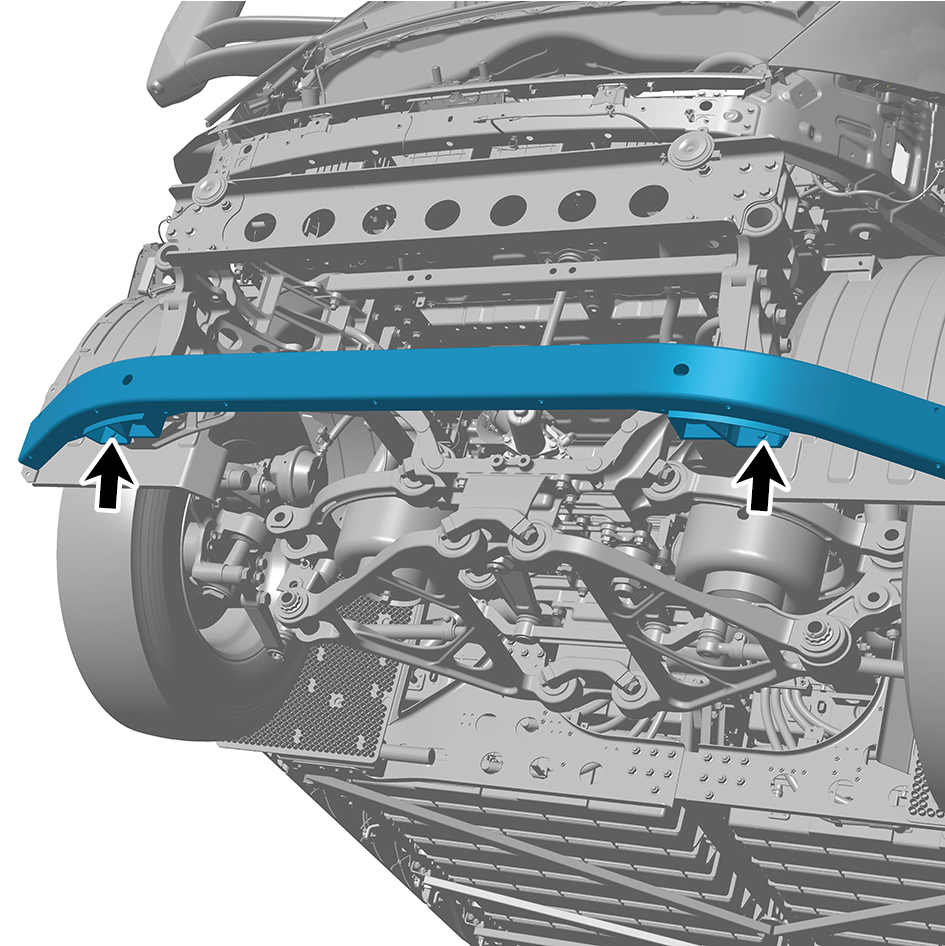
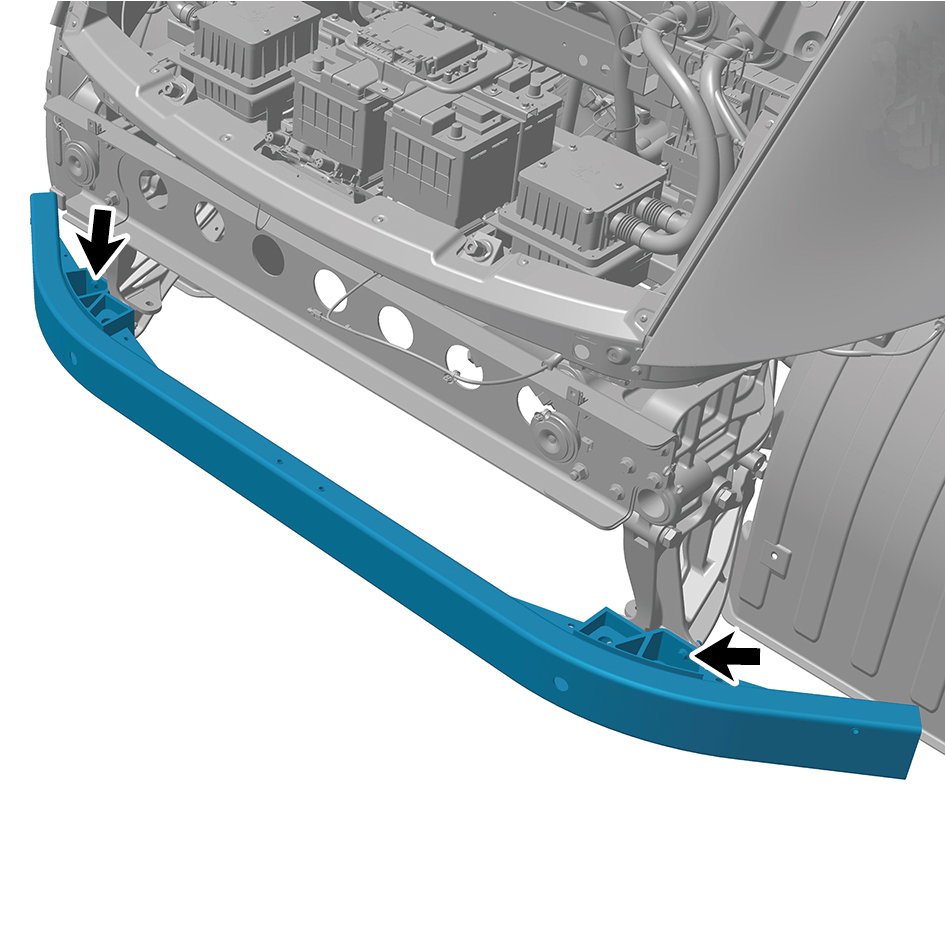
Remove 6 fixing bolts of the front lower protection
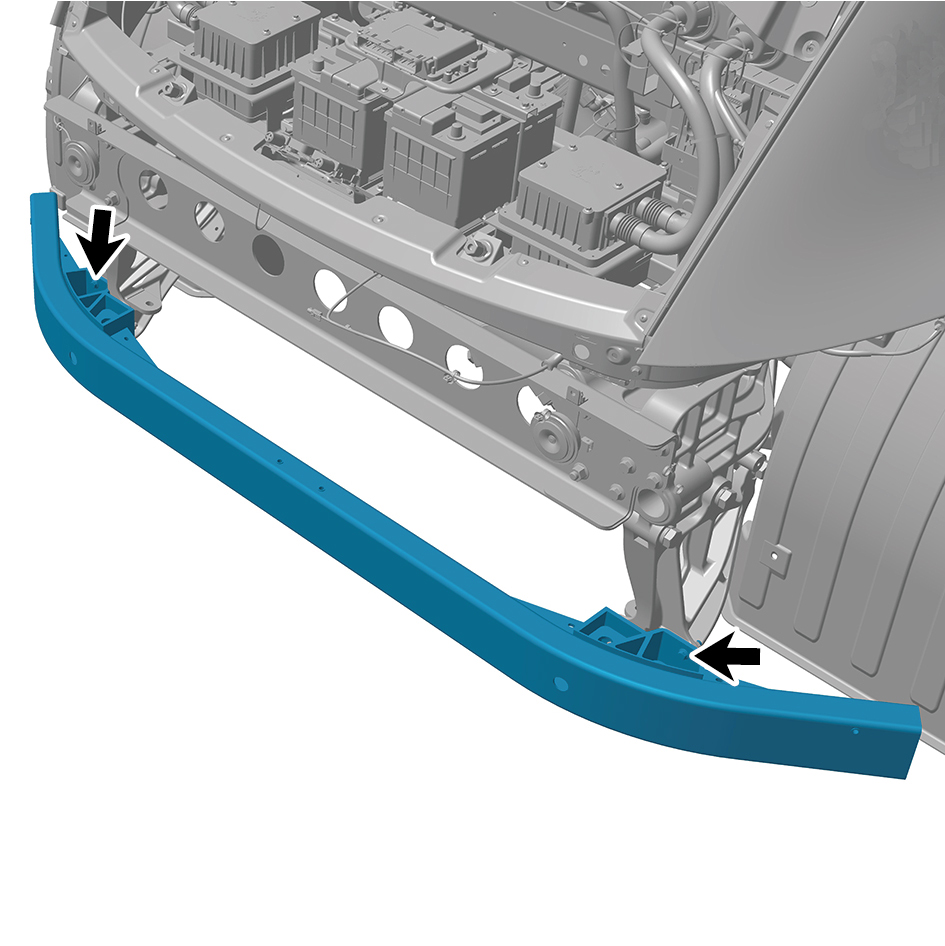
assembly, and remove the front lower protection
assembly.
caution
Due to the heavy weight of the front lower protection
assembly, it shall be removed with the help of an
assistant.
Installation Procedures
1
Move the front lower protection assembly to the mounting
position.
caution
Due to the heavy weight of the front lower protection
assembly, it shall be moved to the mounting position
with the help of an assistant.
2
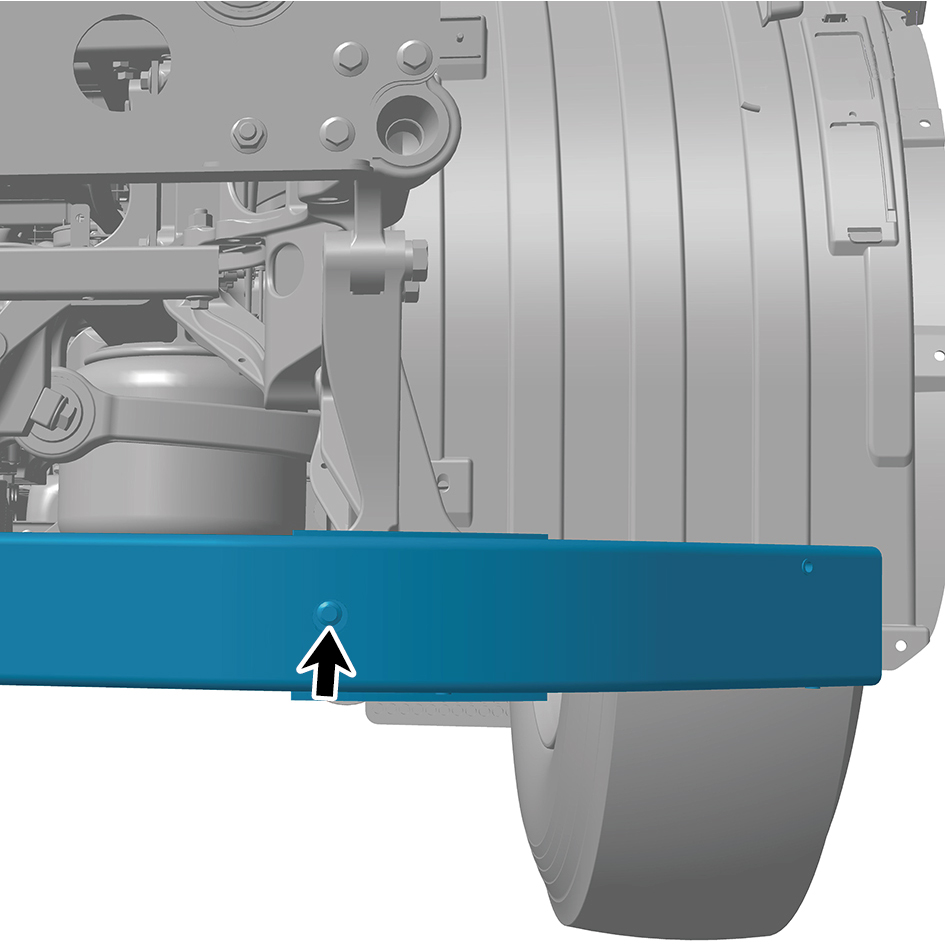
Install 6 fixing bolts of the front lower protection assembly.
Torque:(44 ft-lb - 59 ft-lb)ft-lb
3
Install 2 fixing bolts connecting the front lower protection
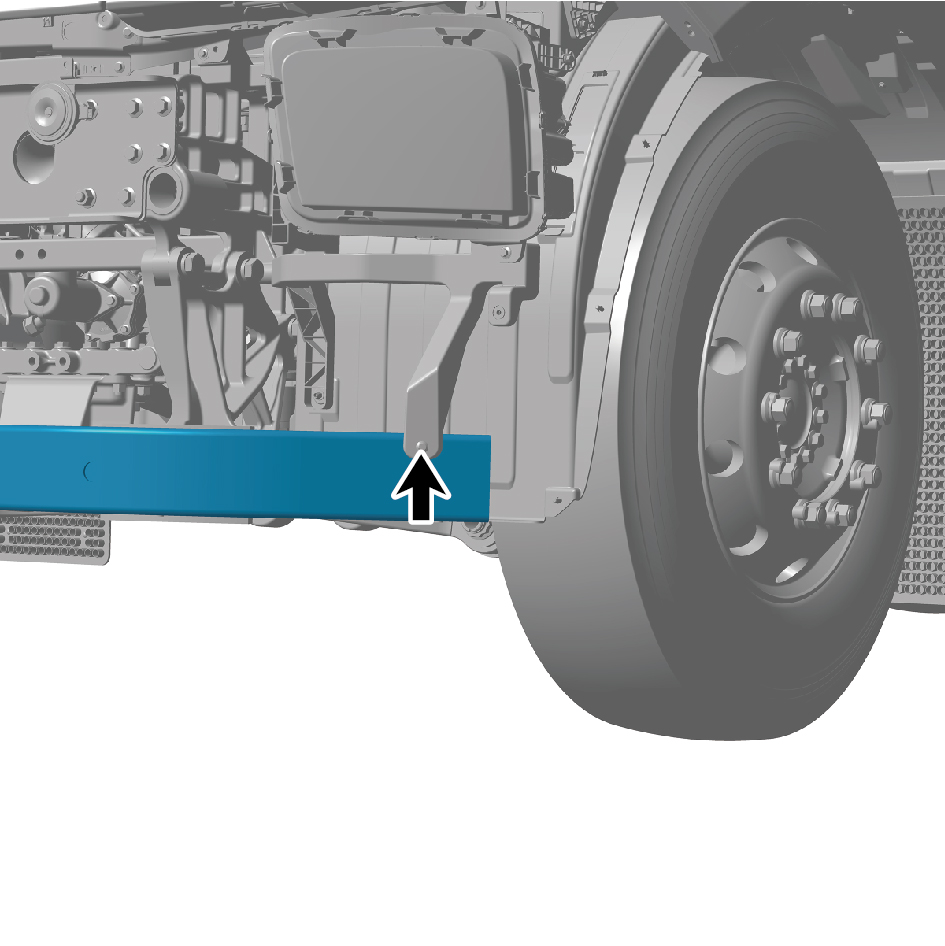
assembly to the headlamp bracket.
Torque: (17 ft-lb +/- 2 ft-lb) ft-lb
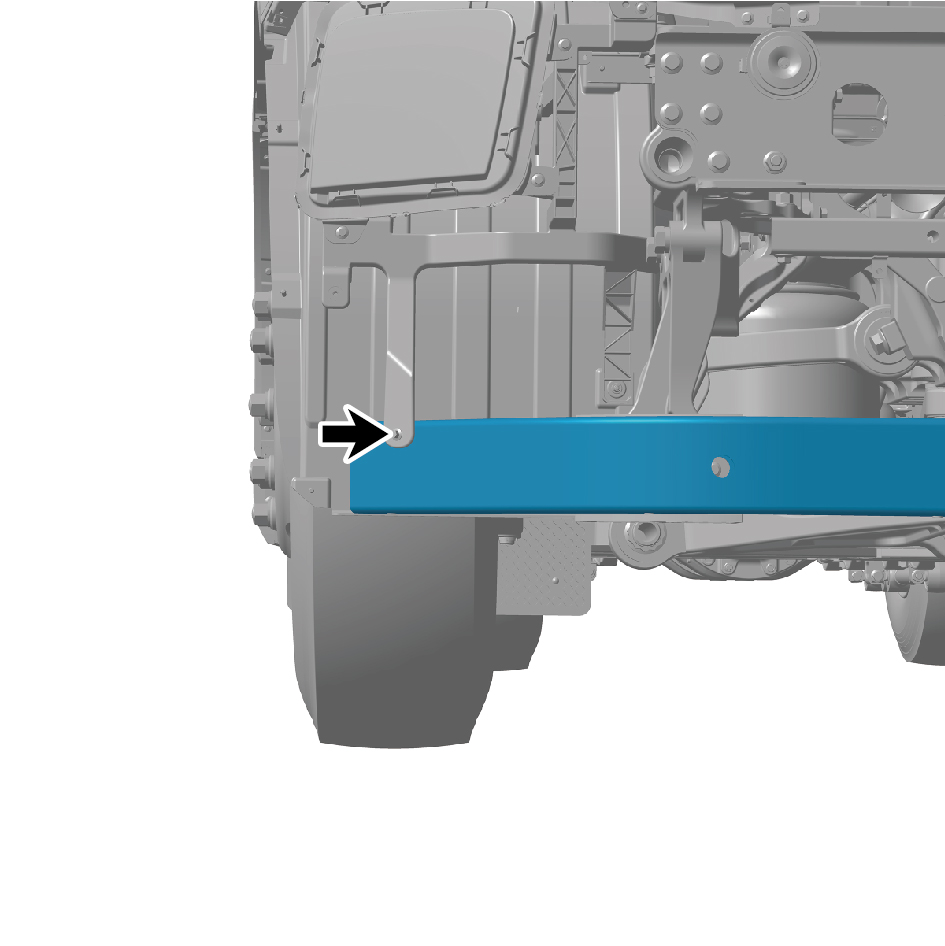
4
Install the MMW radar bracket.
5
Install the front bumper assembly.
6
Install the right cover plate of the corner radar.
7
Install the left cover plate of the corner radar.
8
Install the MMW radar bracket.
9
Install the forward MMW radar.
10
Install the front MMW radar shield.
11
Install the through-type lamp.
12
Install the engine compartment trim panel body.
13
Connect the battery negative cable.
14
Close the front flip cover plate.
15
Close the door