← Back to Contents
6 Vehicle Body / 6.42 Front Hood Device | PDF pages 1028-1036
6.42 Front Hood Device
6.42 Front Hood Device
6.42.1 Specifications
6.42.1.1 Fastener Specifications
Range Of Torque
Fastener Specifications
Specifications
Foot Pounds of Torque (ft lbs)
The fixing bolts between the front cover
lock assembly and the front cover
(6.5 +/- .75) ft lbs
M6
assembly
The fixing bolt connecting the front
cover latch assembly and the front cover
(6.5 +/- .75) ft lbs
M6
assembly
6.42.2 Decomposition Diagram
6.42.2.1 Decomposition Diagram
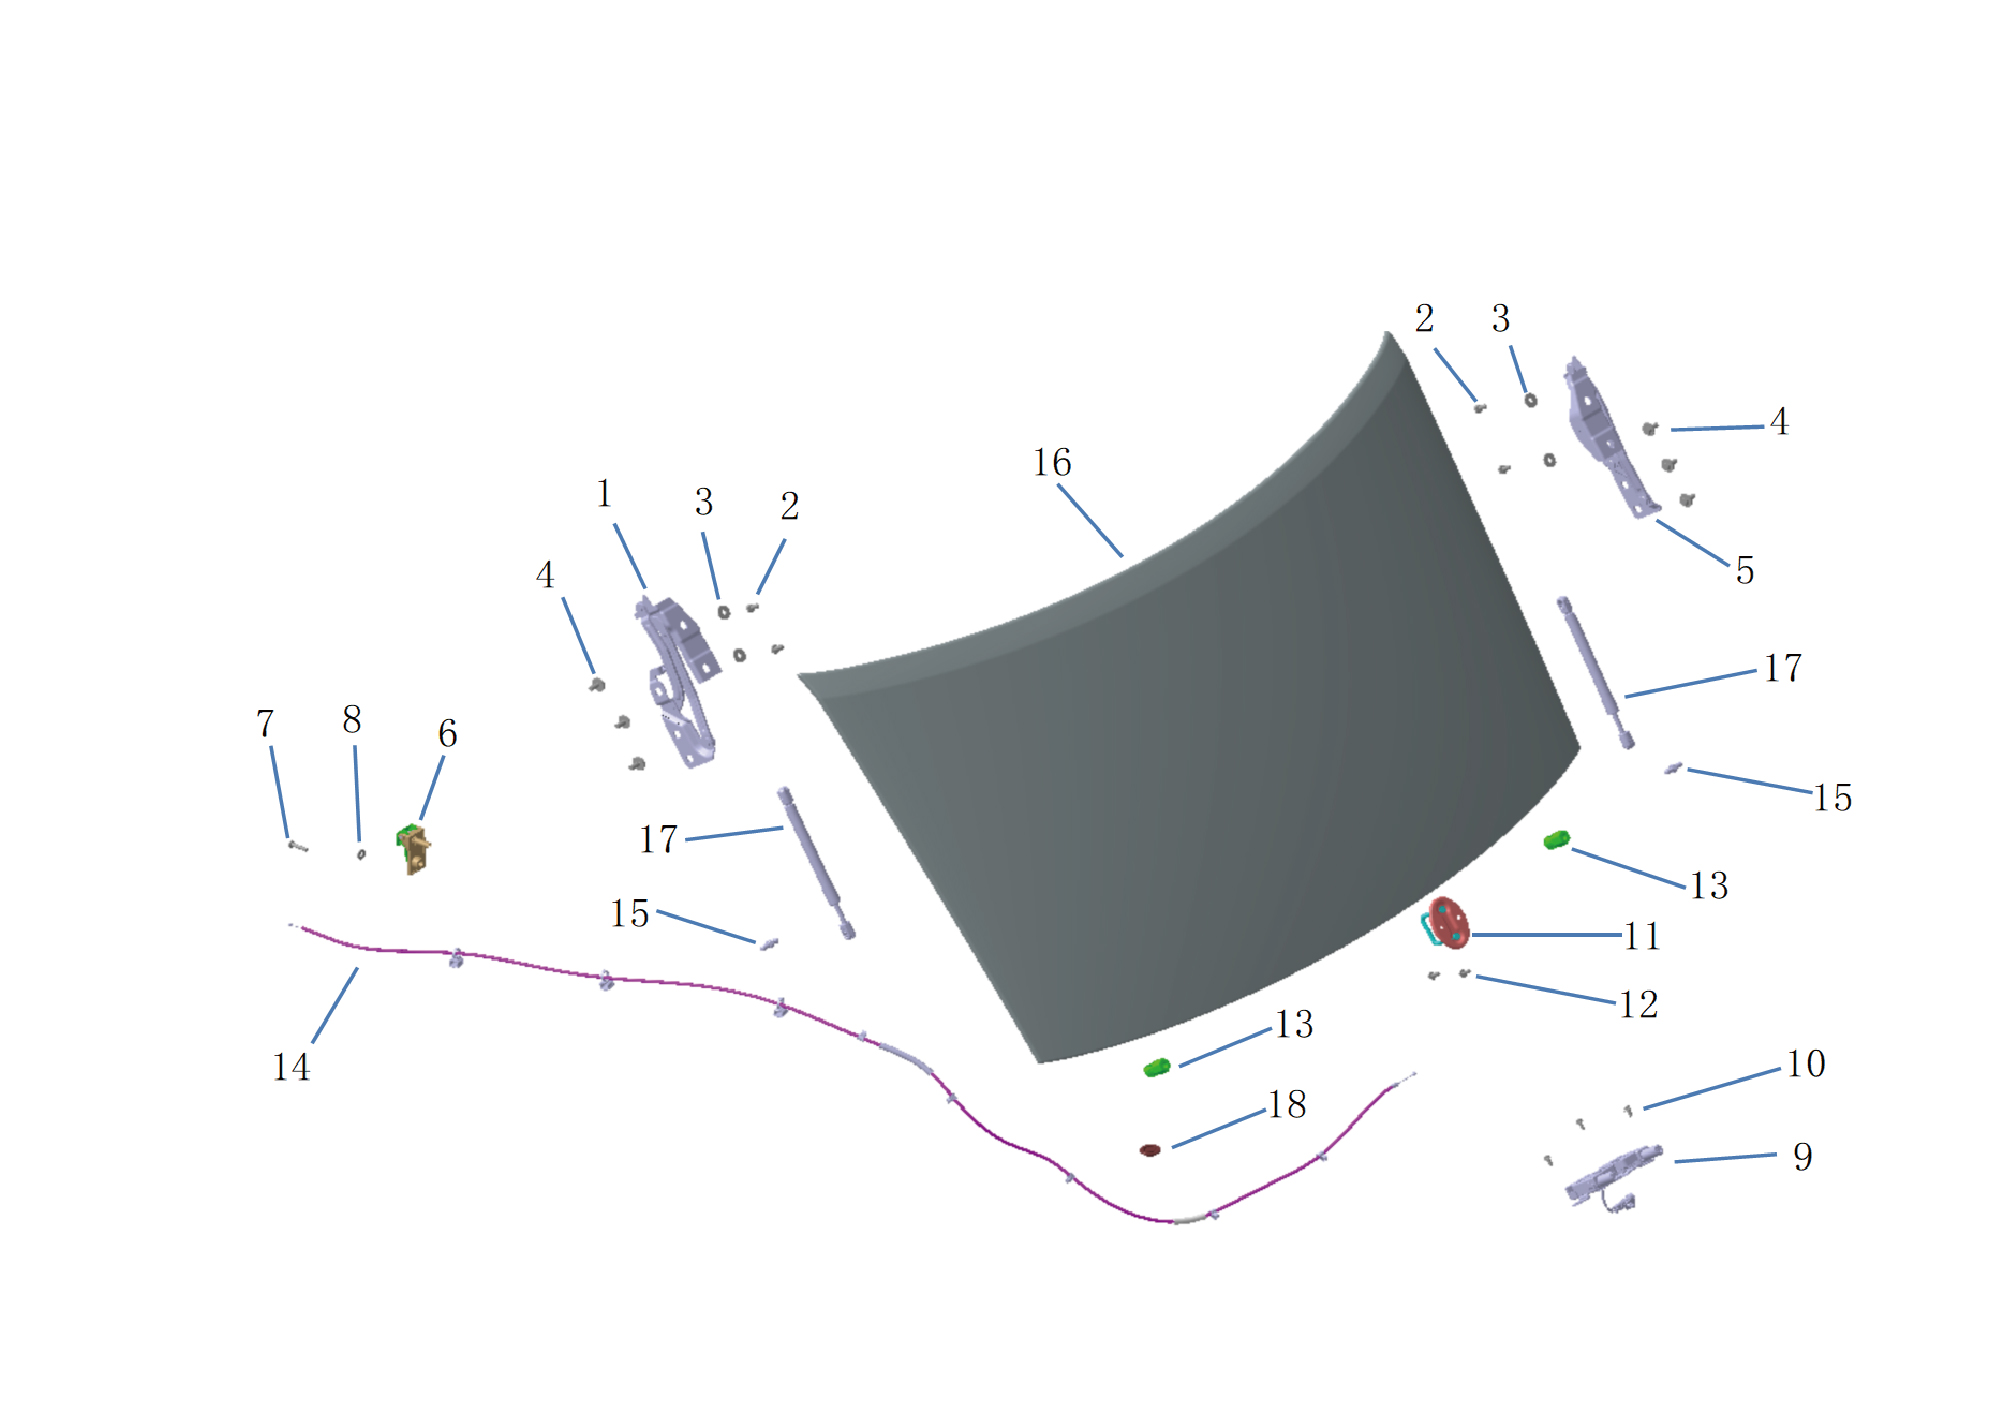
1.
Engine Hood Hinge Assy-Rh
10.
Hexagon Flange Bolt
2.
Hexagon Bolt
11.
Engine Hood Striker Assy
3.
Large Washer
12.
Hexagon Flange Bolt
4.
13.
Hexagon Head Bolt Assy
Bumper Engine Hood
5.
14.
Engine Hood Hinge Assy-Lh
Cable Hood Opening Assy
6.
15.
The Air Pole Is Installed With The Ball End
Handle Assy-Frt Cover Opening
7.
16.
Hex Socket Set Screw
Front Cover Assy
8.
Large Washer
17.
Air Strut Engine Hood
9.
Engine Hood Lock Assy
18.
Plug Cover
6.42.3 Dismantling and Installation
6.42.3.1 Replacement of Engine Hood Opening Handle Assembly
Opening Handle Assembly
Removal Procedures
1
Open the door.
2
Remove 1 fixing screw of the engine hood opening handle
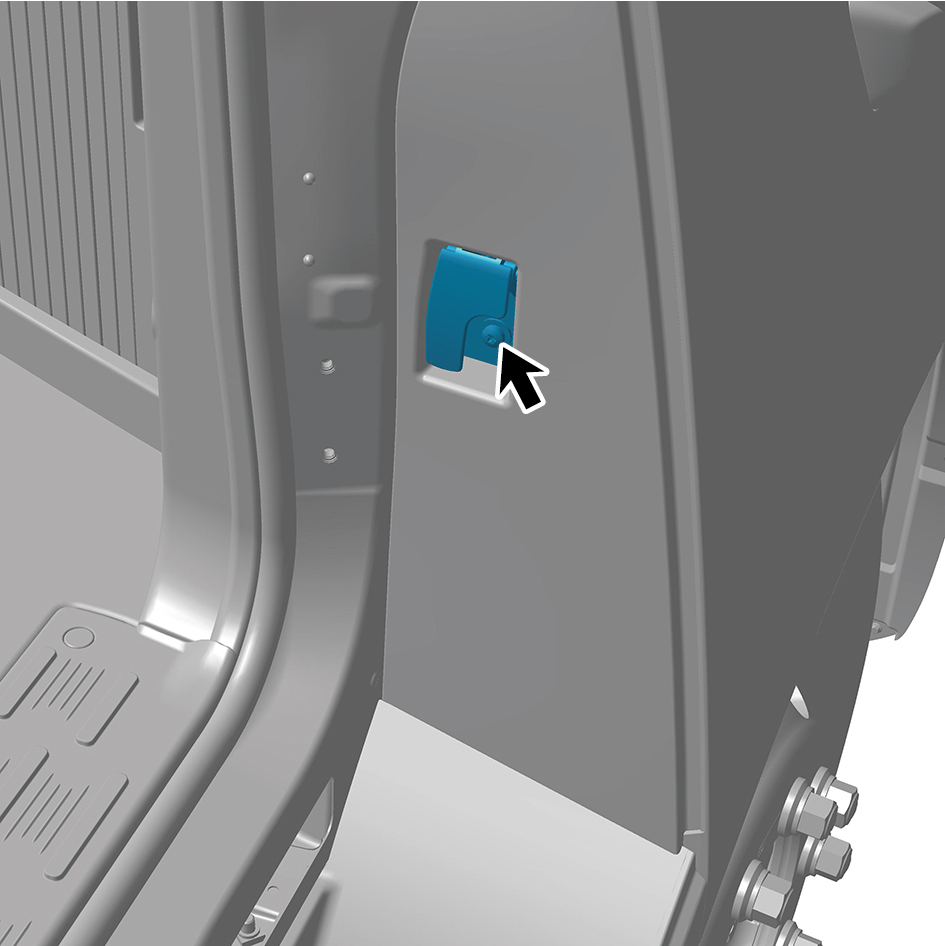
assembly, and detach the engine hood opening handle
assembly.
3
Disengage the engine hood lock cable assembly.
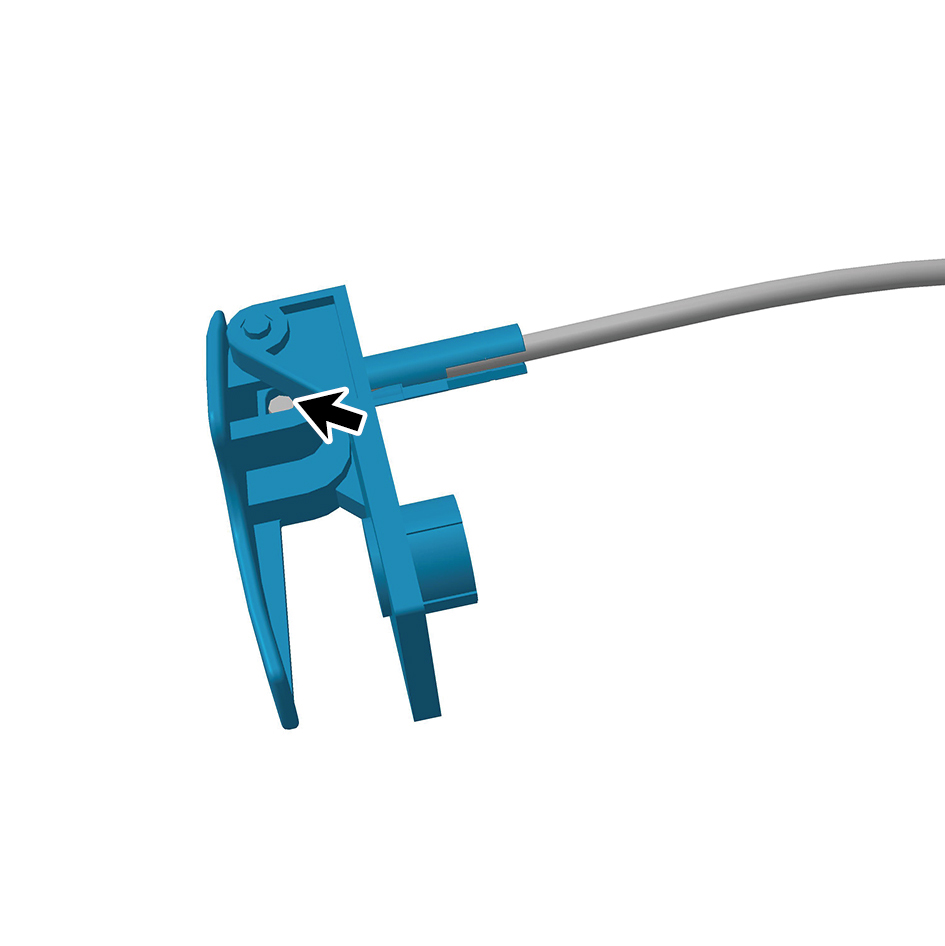
4
Remove the engine hood opening handle assembly.
Installation Procedures
1
Move the engine hood opening handle assembly to the
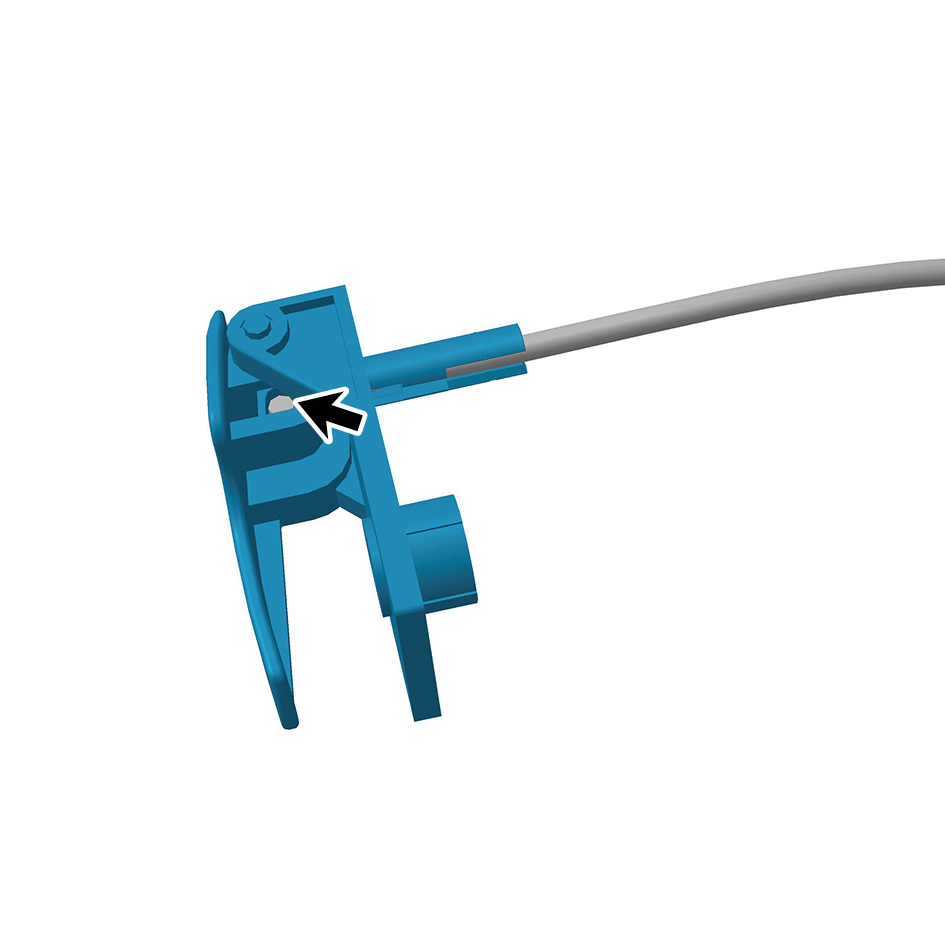
mounting position.
2
Connect the engine hood lock cable assembly.
3
Install 1 fixing screw of the engine hood opening handle
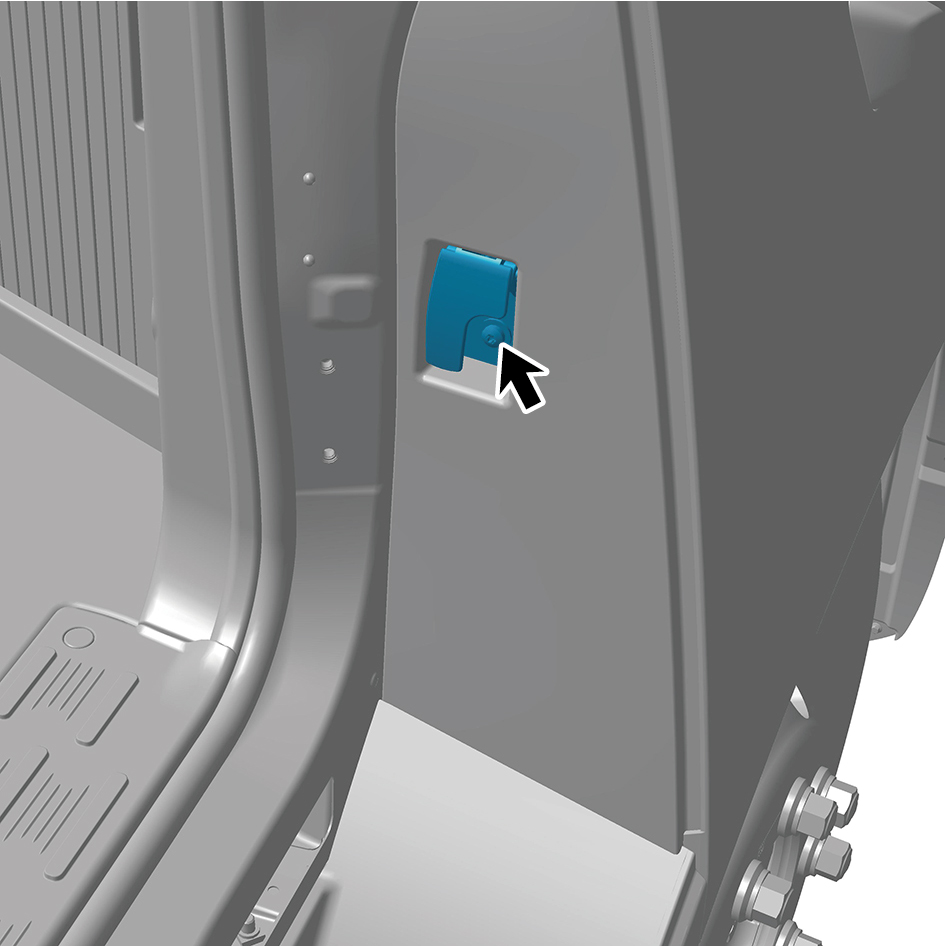
assembly.
4
Close the door.
6.42.3.2 Replacement of Engine Hood Lock Assembly
Assembly
Removal Procedures
1
Open the door.
2
Open the front flip cover plate.
3
Disconnect the battery negative cable.
caution
power down the high-voltage system before
disconnecting the negative pole of the storage
battery.
4
Disconnect 1 harness connector of the engine hood lock
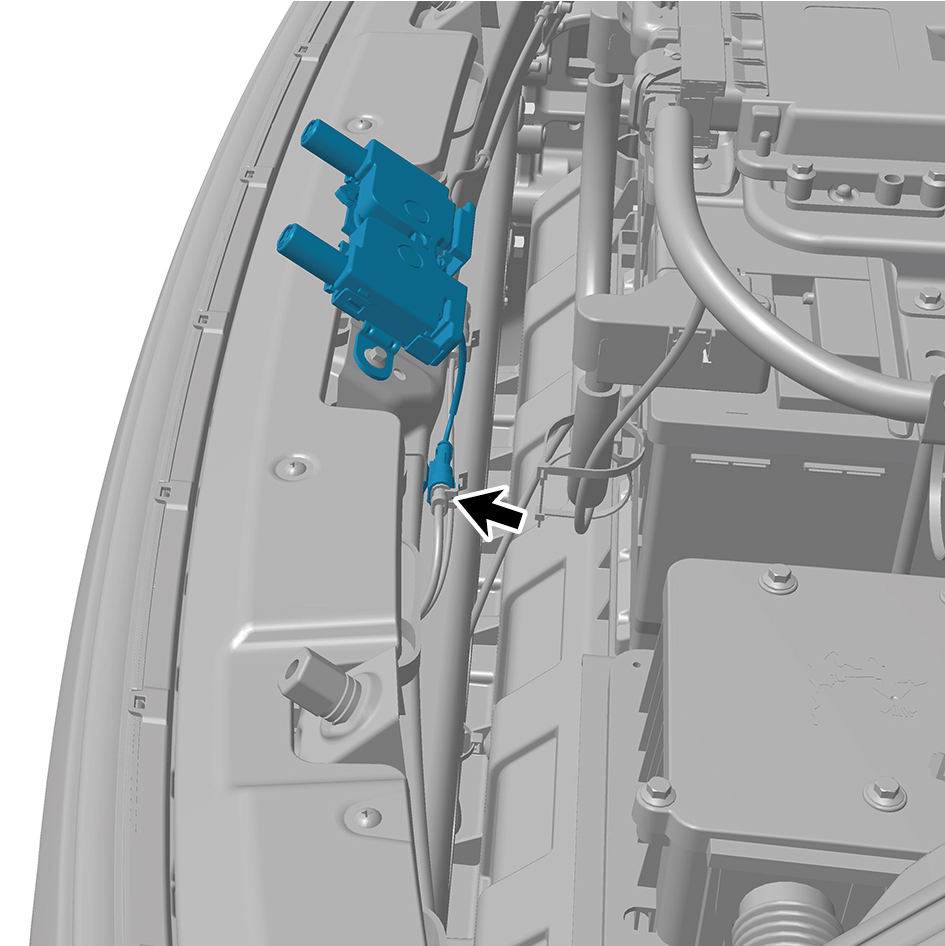
assembly.
5
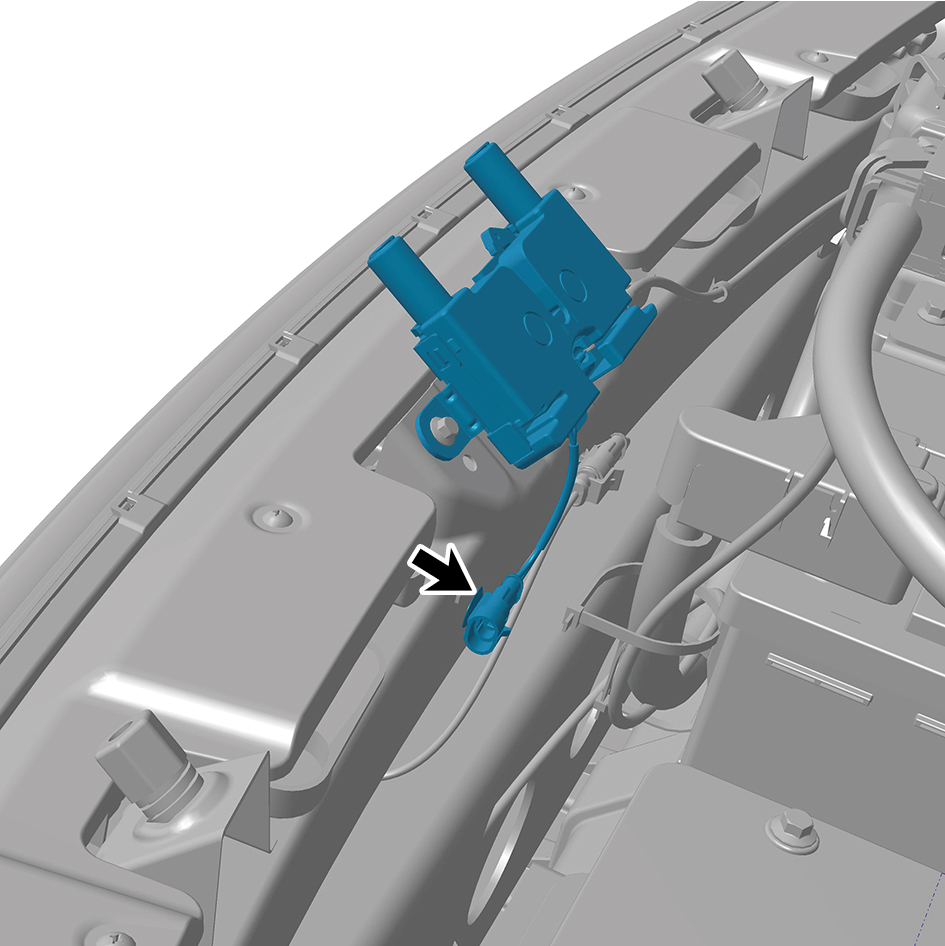
Disengage 1 clip of the engine hood lock assembly.
6
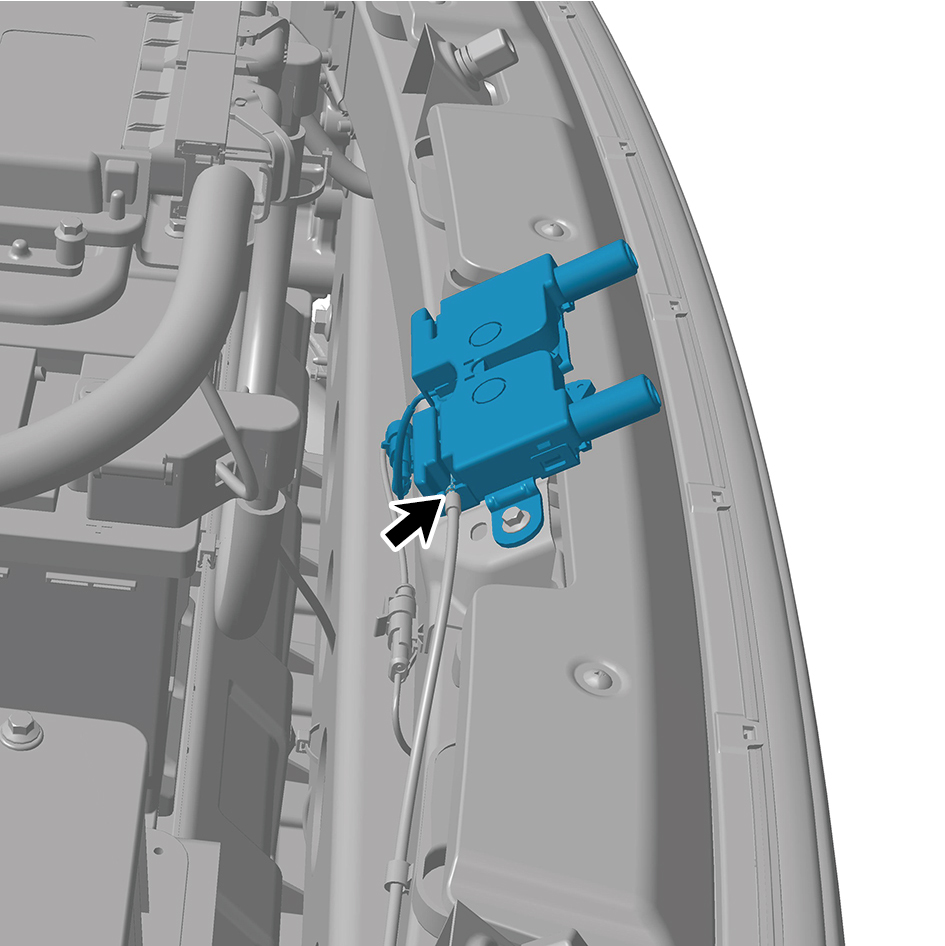
Disengage the engine hood lock cable assembly.
7
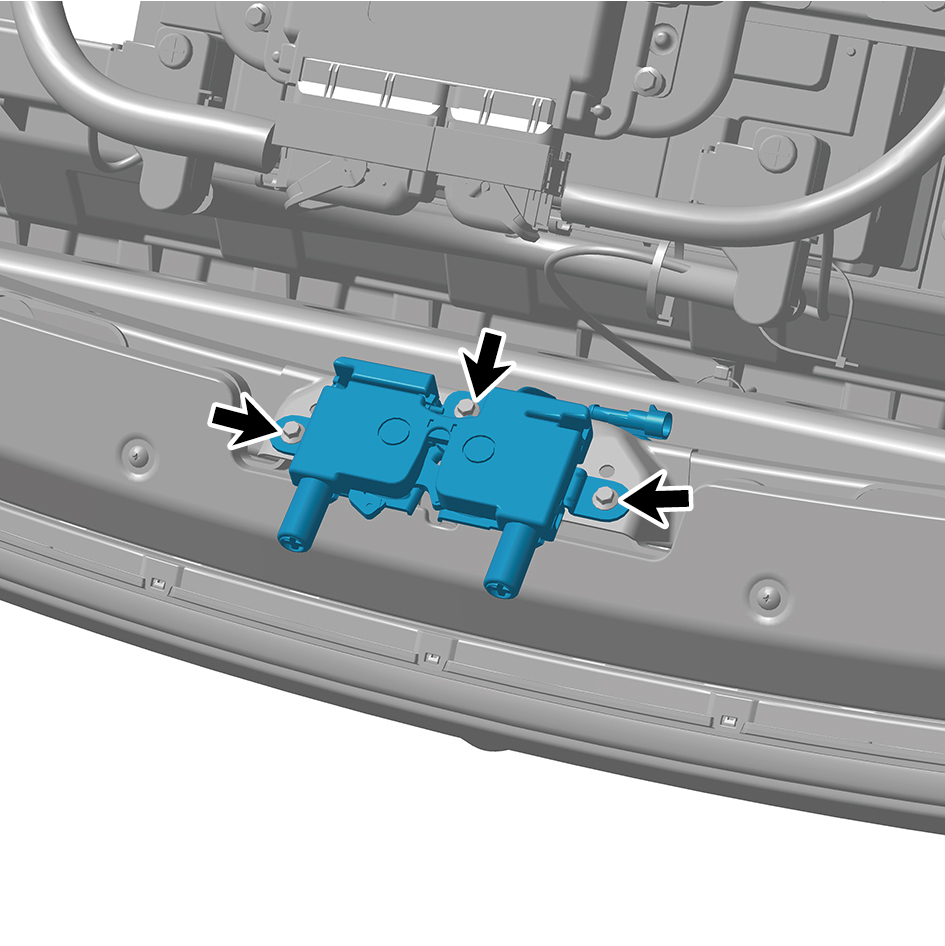
Remove 3 fixing bolts of the engine hood lock assembly.
8
Remove the engine hood lock assembly.
Installation Procedures
1
Move the engine hood lock assembly to the mounting
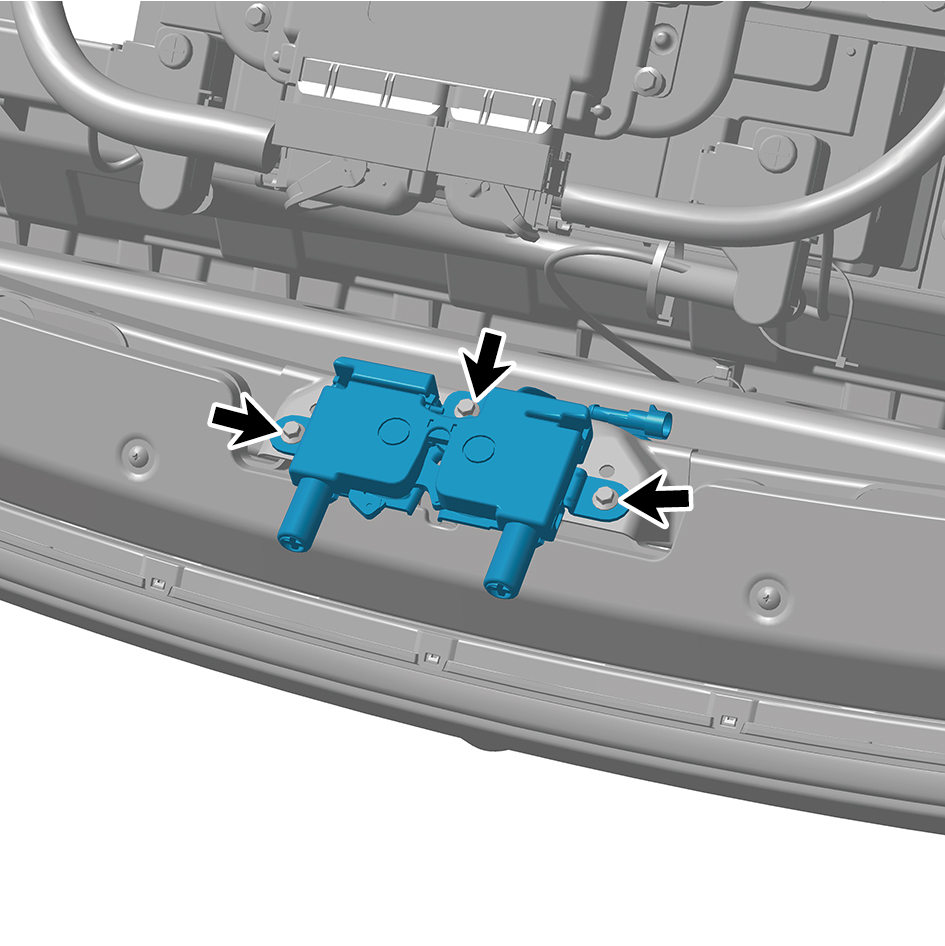
position.
2
Install 3 fixing bolts of the engine hood lock assembly.
Torque: (6.5 +/- .75) ft lbs
3
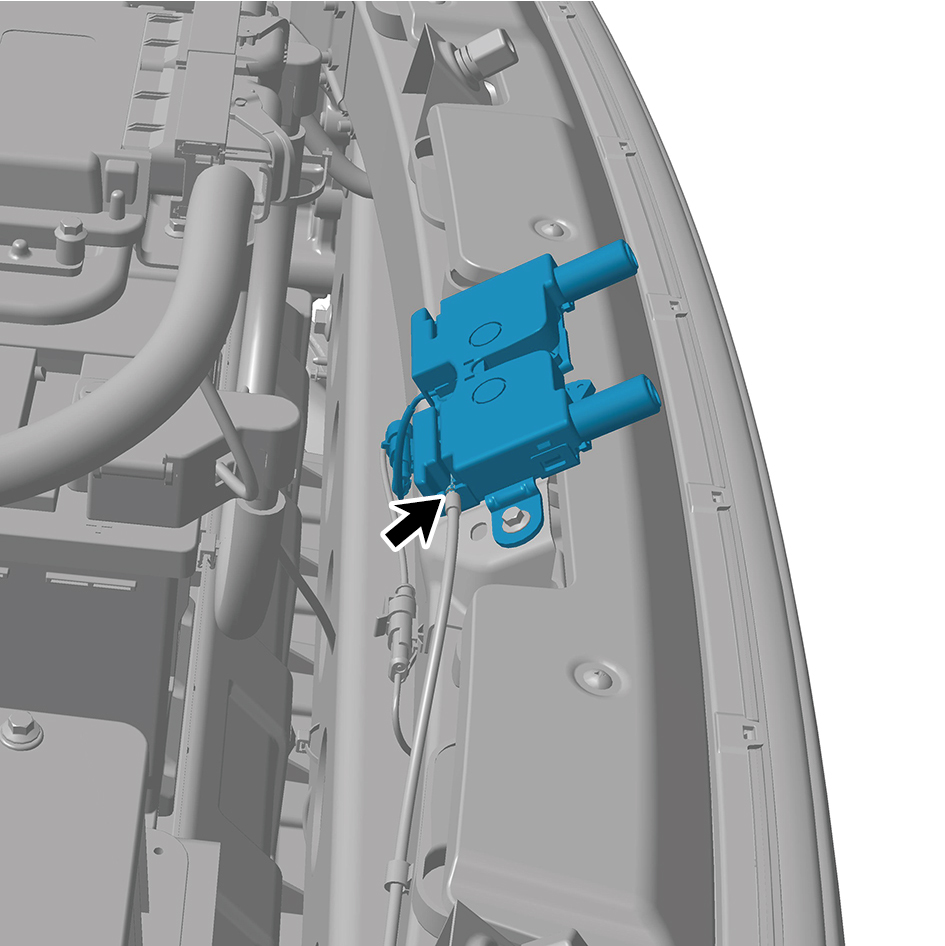
Connect the engine hood lock cable assembly.
4
Install 1 clip of the engine hood lock assembly.
5
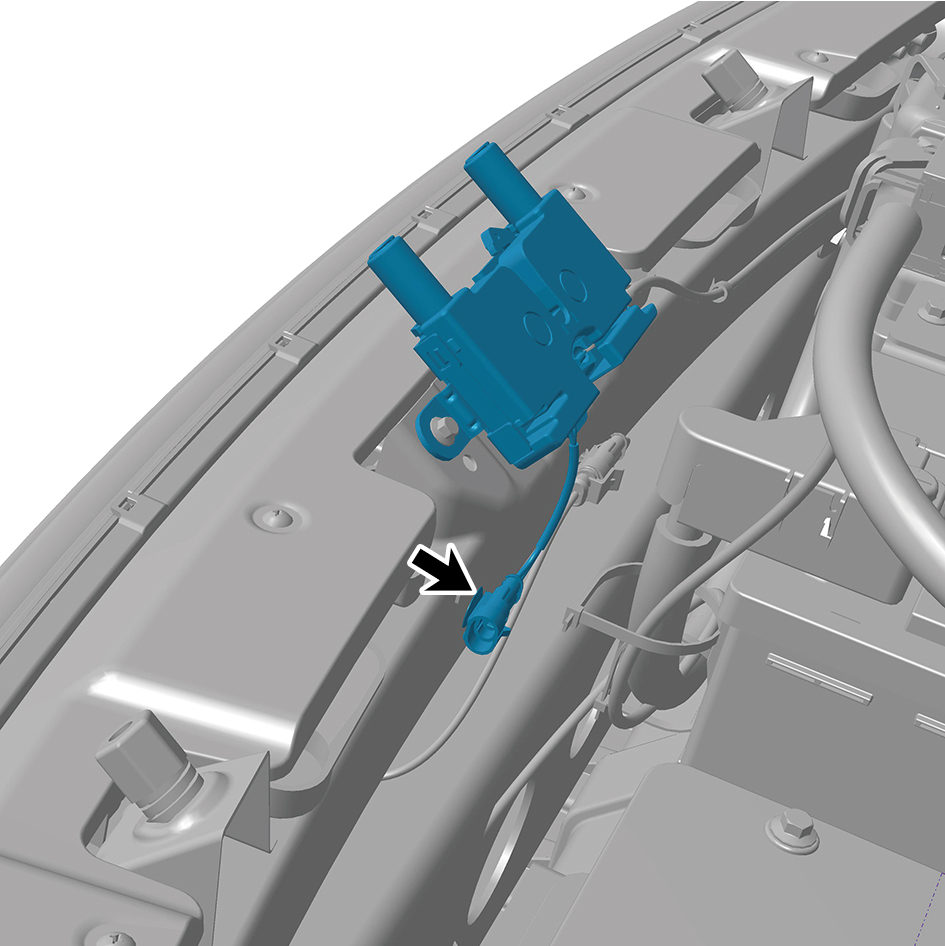
Connect 1 harness connector of the engine hood lock
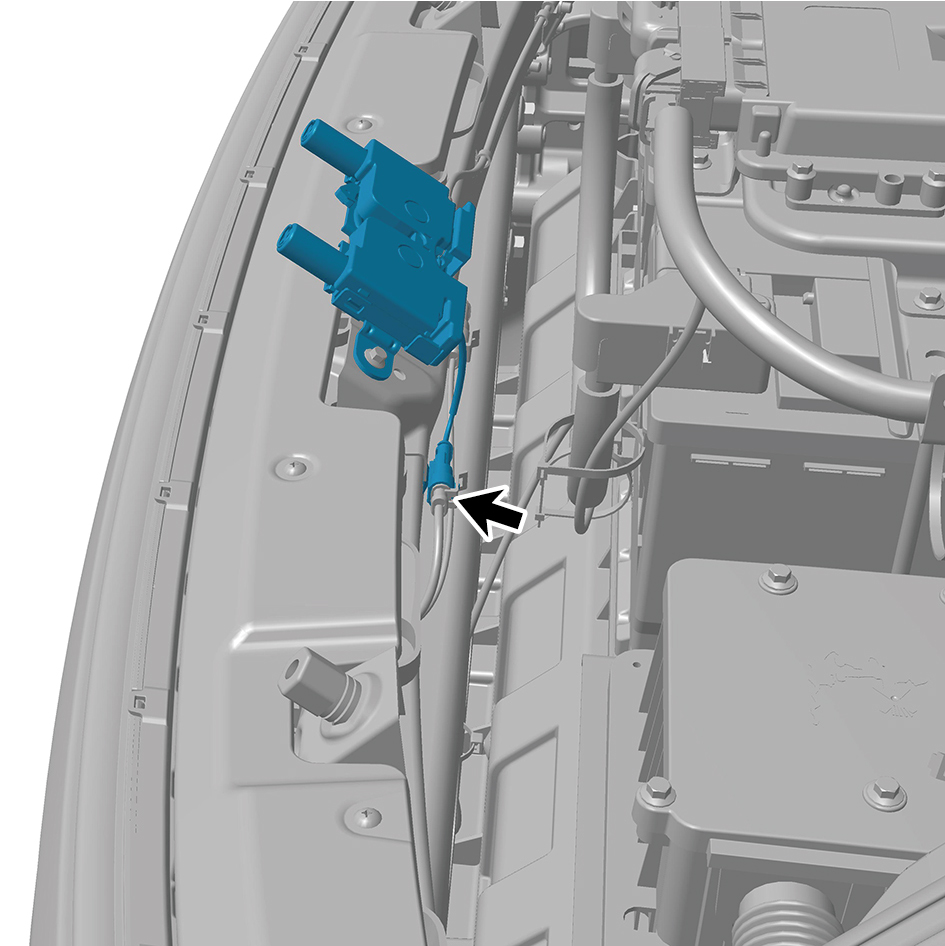
assembly.
caution
The harness is firmly connected following the
principal of "insert until a click is heard for
confirmation".
6
Connect the battery negative cable.
7
Close the front flip cover plate.
8
Close the door.
6.42.3.3 Replacement of Engine Hood Pneumatic Strut (left)
Pneumatic Strut (left)
Removal Procedures
1
Open the door.
2
Open the front flip cover plate.
3
Pry off 2 lock pieces of the engine hood pneumatic strut
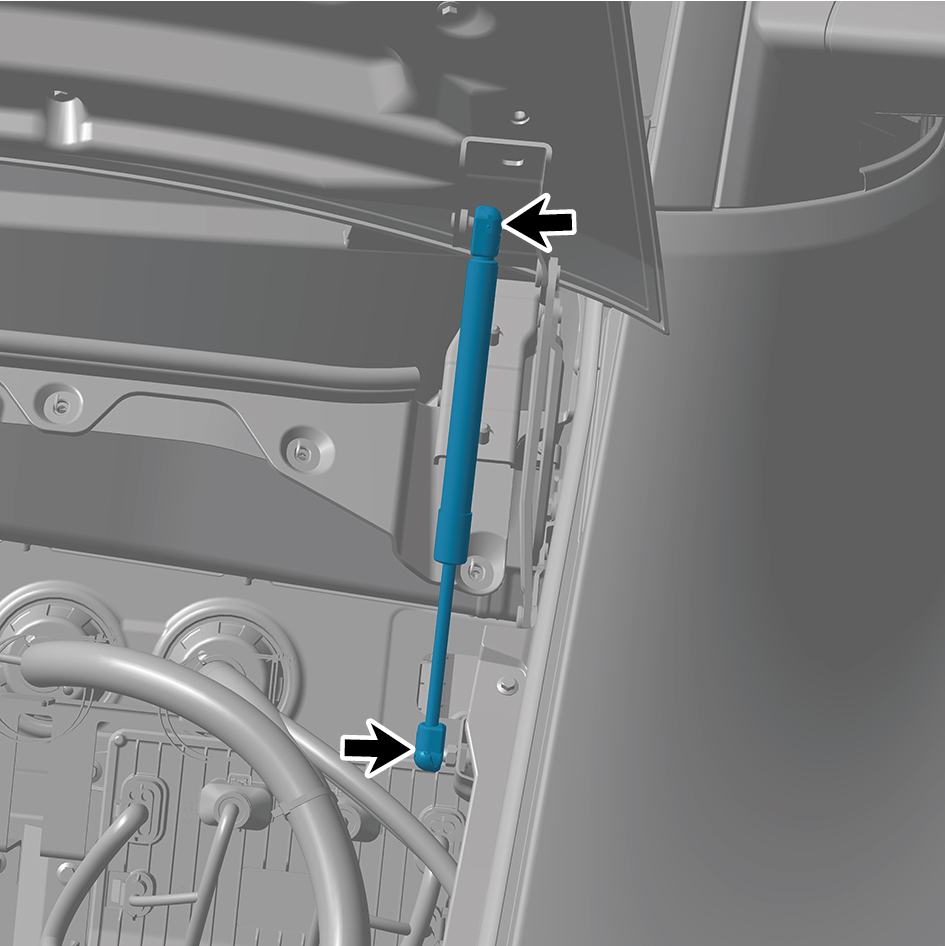
(left).
4
Remove the engine hood pneumatic strut (left).
caution
One person is required to support the engine hood
cover plate during removal.
Installation Procedures
1
Move the engine hood pneumatic strut to the mounting
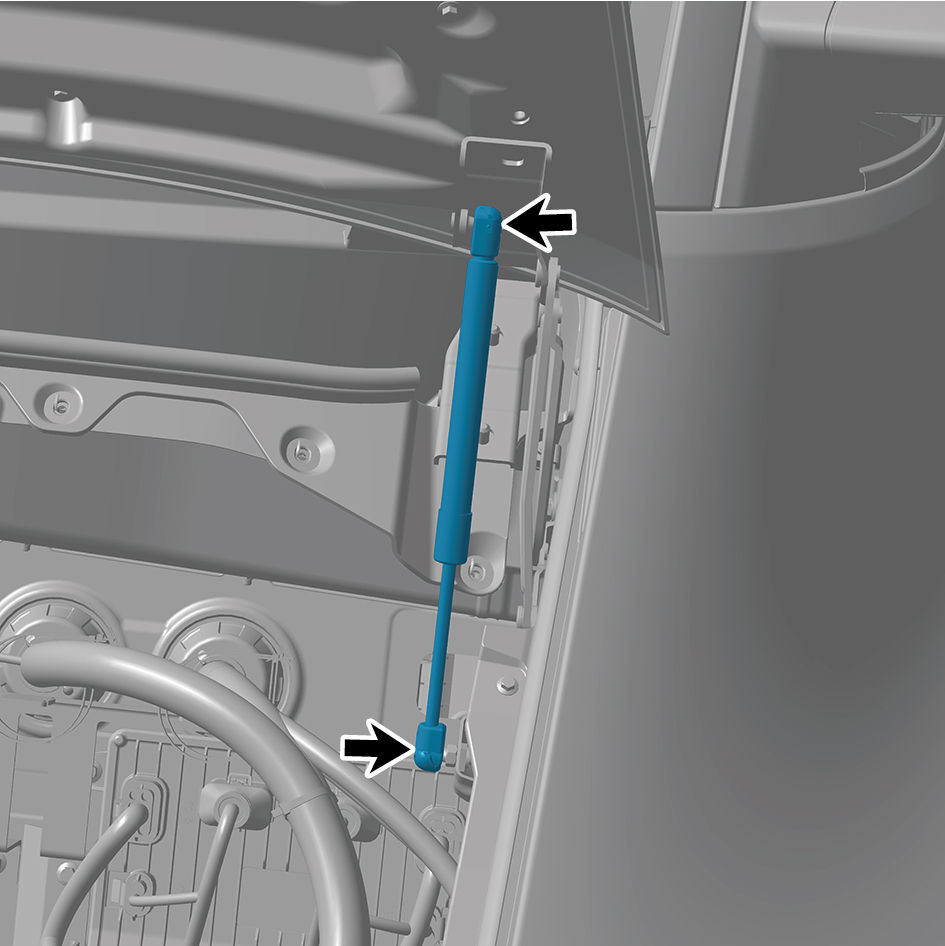
position.
2
Fasten 2 lock pieces of the engine hood pneumatic strut
(left).
3
Close the front flip cover plate.
4
Close the door.
6.42.3.4 Replacement of Engine Hood Pneumatic Strut (right)
Pneumatic Strut (right)
Removal Procedures
1
Open the door.
2
Open the front flip cover plate.
3
Pry off 2 lock pieces of the engine hood pneumatic strut
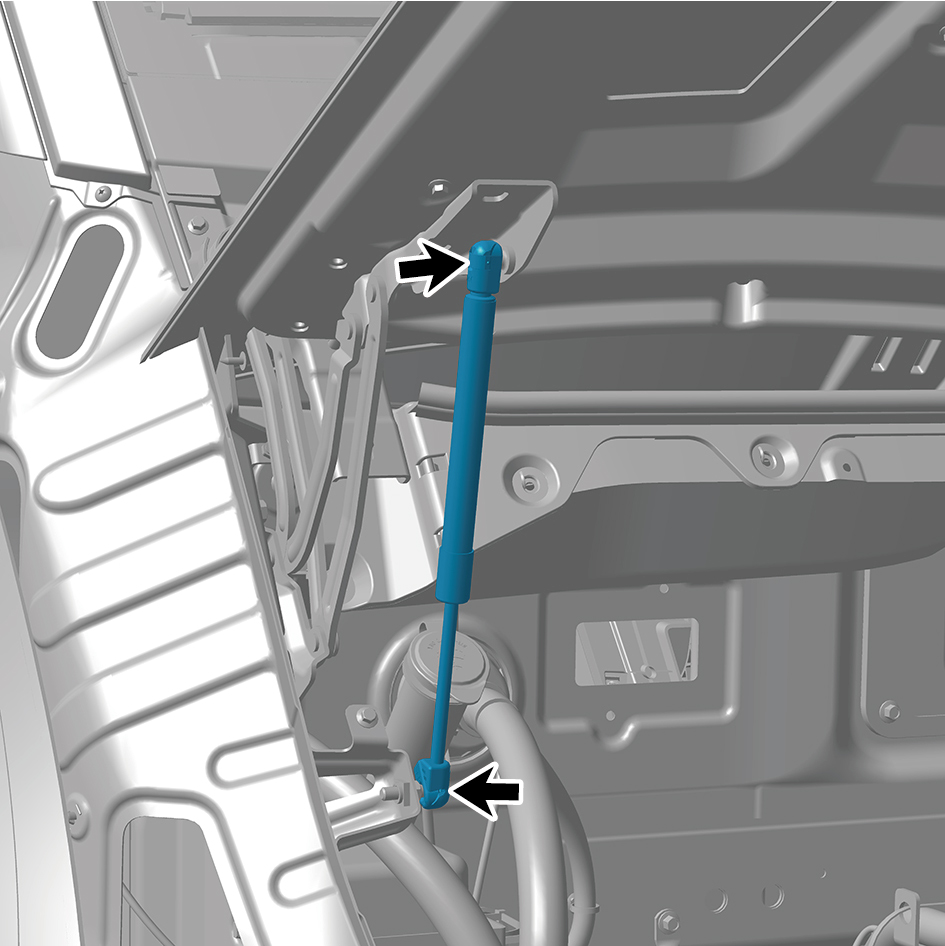
(right).
4
Remove the engine hood pneumatic strut (right).
caution
One person is required to support the engine hood
cover plate during removal.
Installation Procedures
1
Move the engine hood pneumatic strut (right) to the
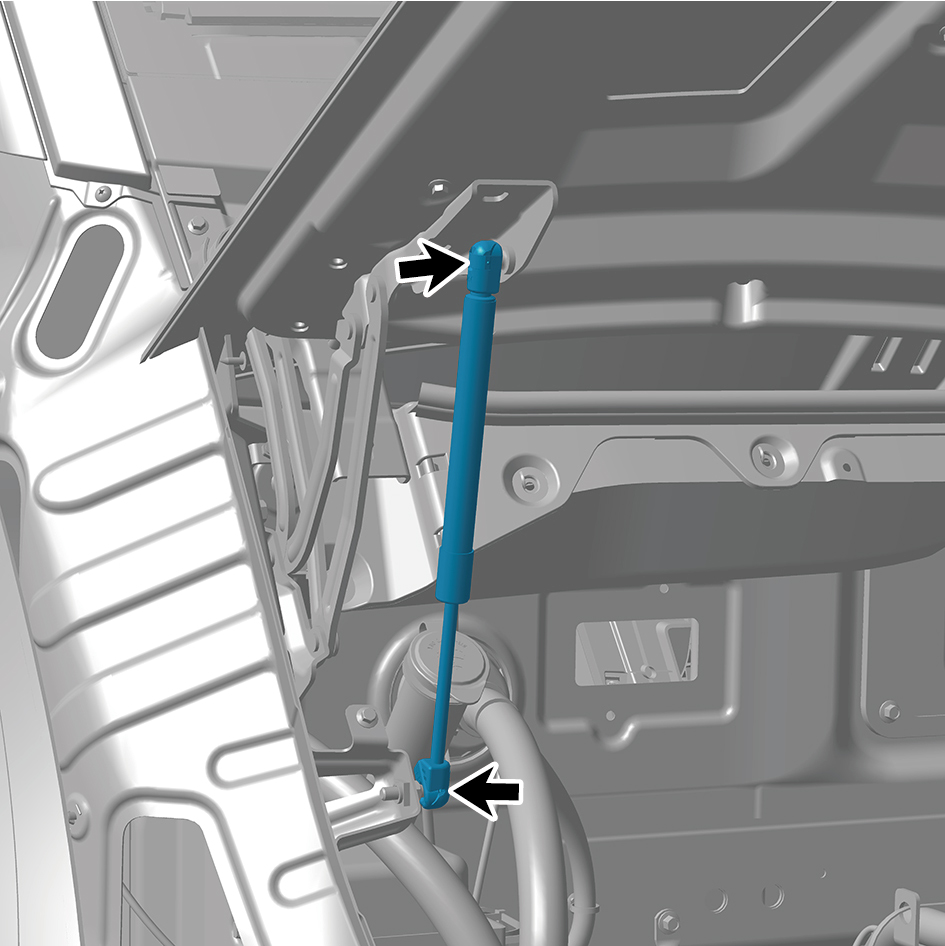
mounting position.
2
Fasten 2 lock pieces of the engine hood pneumatic strut
(right).
3
Close the front flip cover plate.
4
Close the door.